Step 1: Open Ticket Manager Settings
In your Crisp dashboard, go to Plugins in the left sidebar. Find Ticket Manager under your installed plugins and click the gear icon to open the plugin settings.
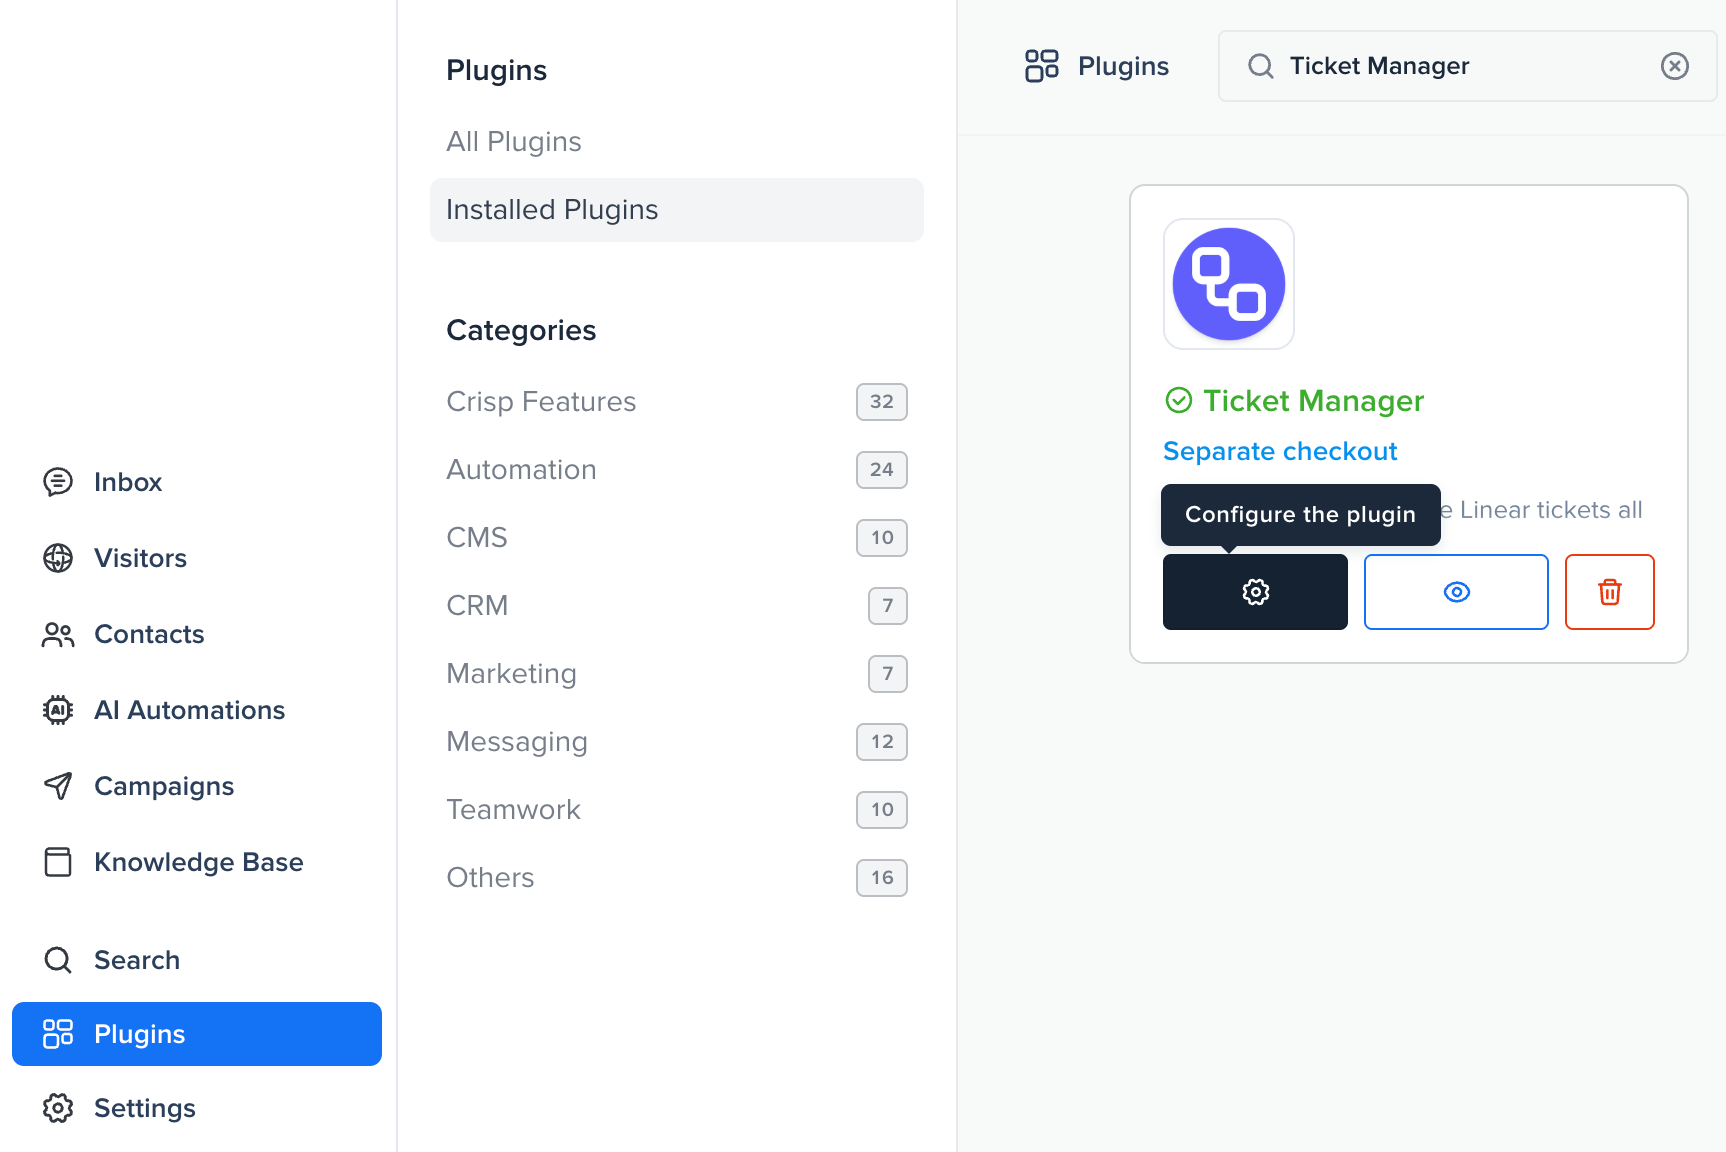
Go to Plugins, find Ticket Manager, and click the gear icon to open settings.
Once you're on the settings page, you'll see a yellow banner at the top indicating that additional permissions are required.
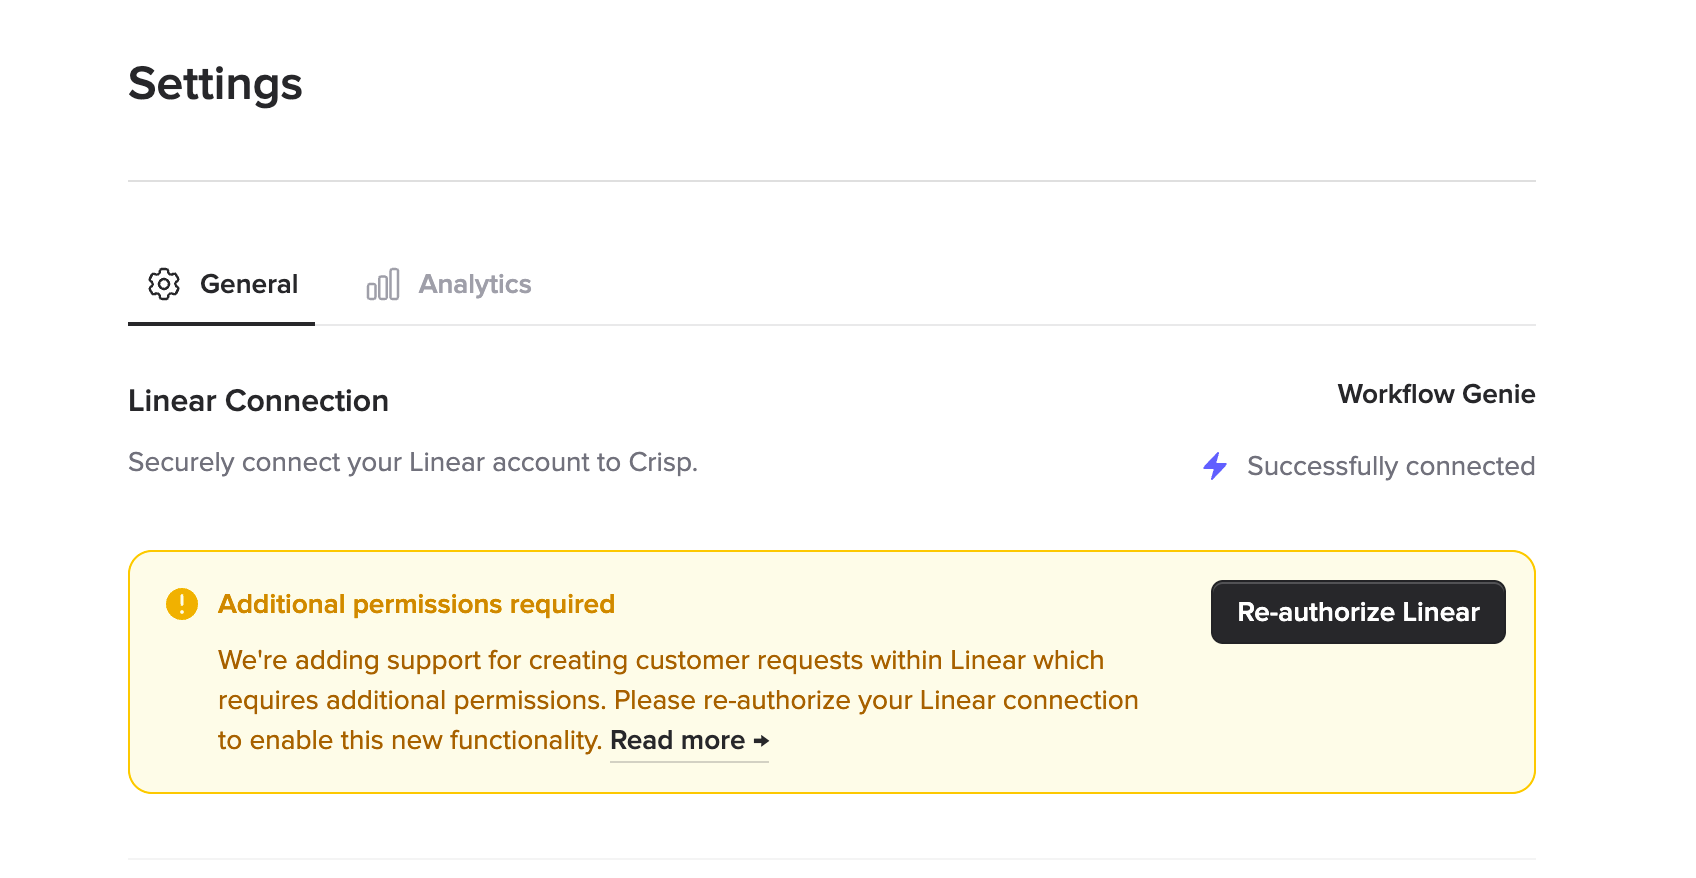
The settings page displays a banner when additional permissions are needed.
Step 2: Re-authorize Linear
Click the "Re-authorize Linear" button on the banner. You'll be redirected to Linear's authorization page where you can review the updated permissions. The new permissions include write access to your workspace, which is required to create customer request entries on your behalf.
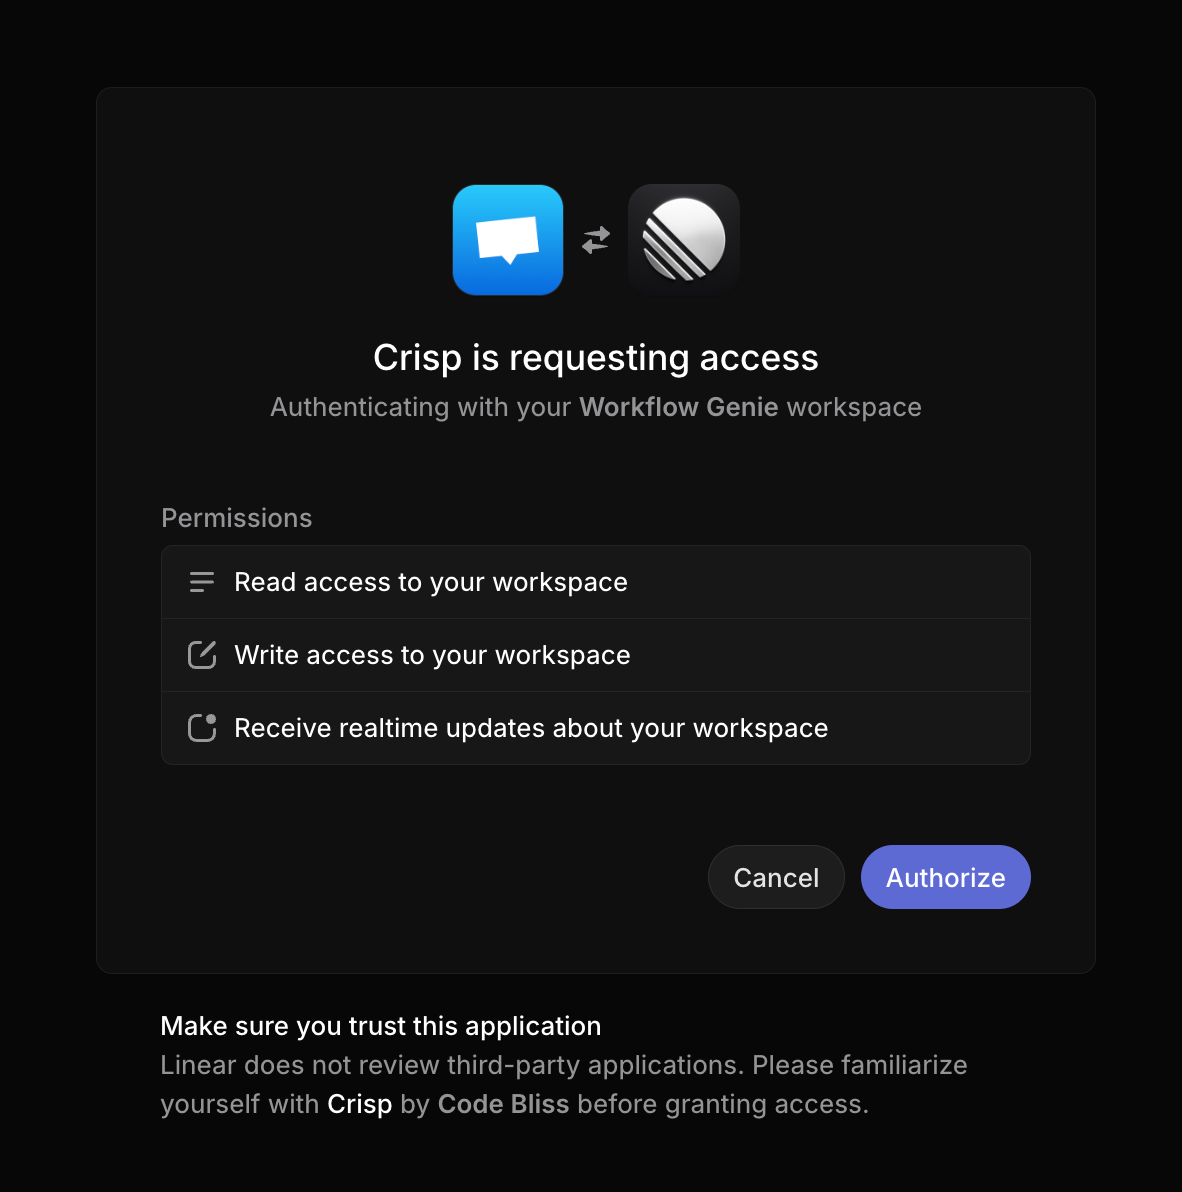
Review the permissions and click "Authorize" to continue.
Click "Authorize" to grant the updated permissions. Once complete, you'll see a success confirmation page.
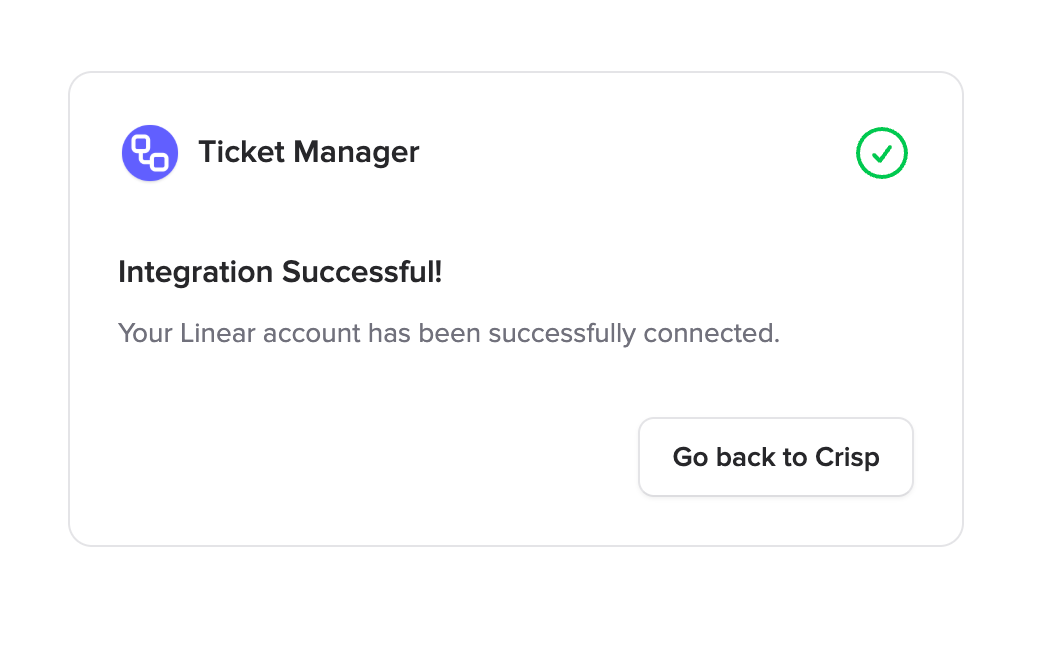
You're all set — click "Go back to Crisp" to return to your inbox.
Why do I need to re-authorize?
Customer requests require additional write permissions in Linear. Re-authorizing updates your OAuth token to include these permissions. Your existing tickets and data are not affected — the process takes about 30 seconds.
Step 3: Add domains to your customers in Linear
Ticket Manager can automatically detect which customer a visitor belongs to based on their email domain. To take advantage of this, make sure your customers in Linear have their domains configured.
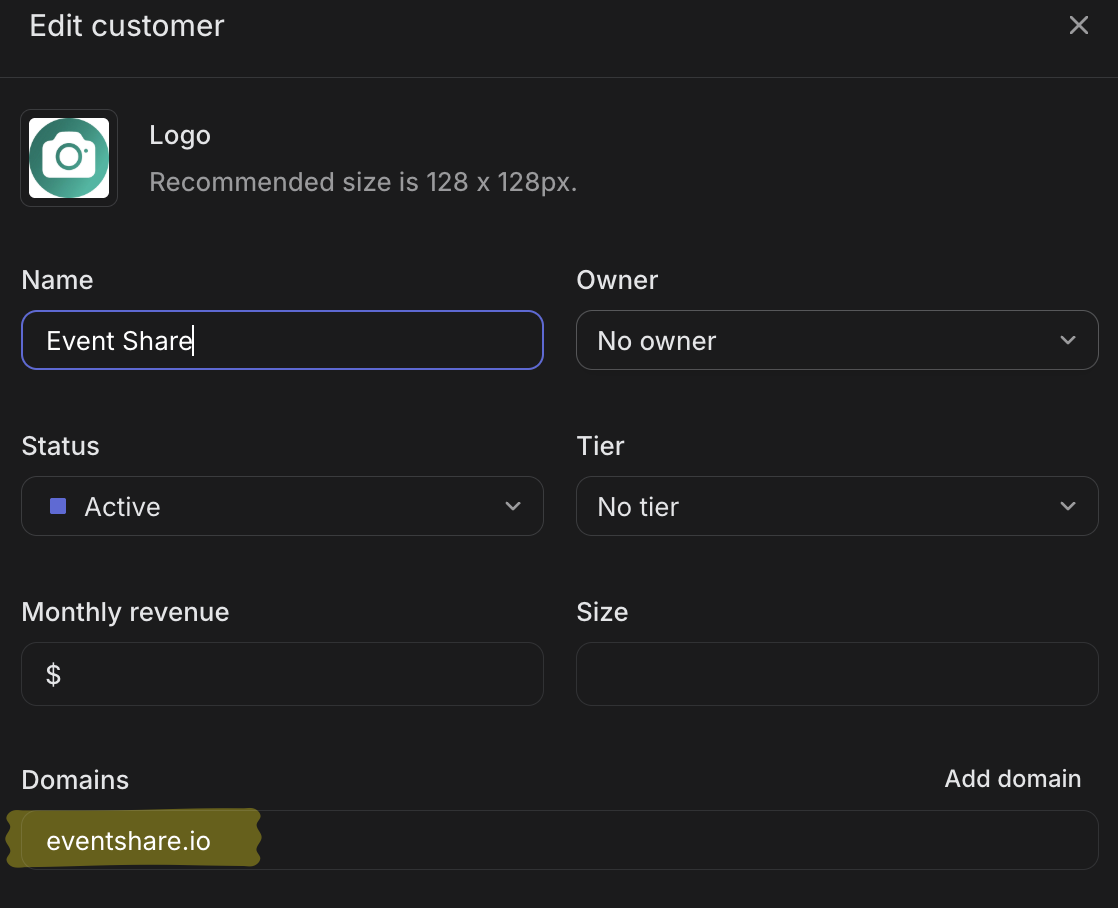
Add your customer's email domain in Linear under the "Domains" section.
To add a domain, open a customer in Linear, scroll to the "Domains" section, and click "Add domain". Enter the email domain (e.g. eventshare.io) and save.
Step 4: Create tickets with customer requests
Now when a visitor starts a conversation in Crisp, Ticket Manager will match their email address against your Linear customer domains. If there's a match, the customer is automatically selected when you create a new ticket.
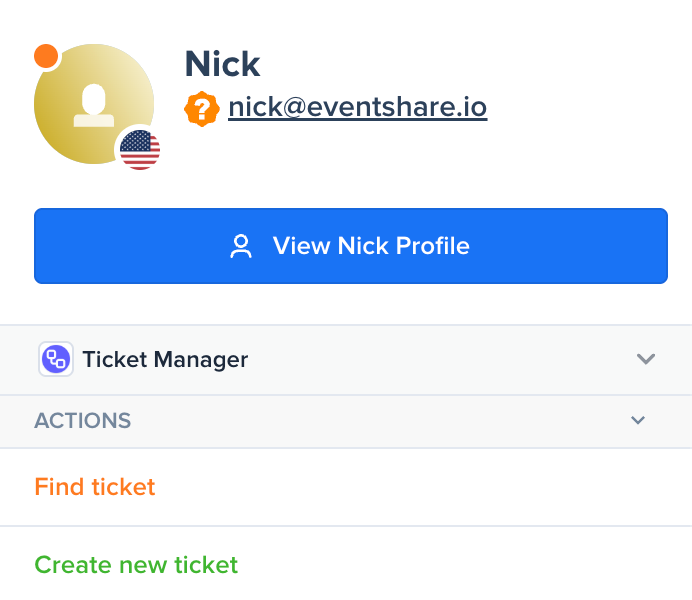
A visitor's email is visible in the Crisp sidebar — Ticket Manager uses this to match customers.
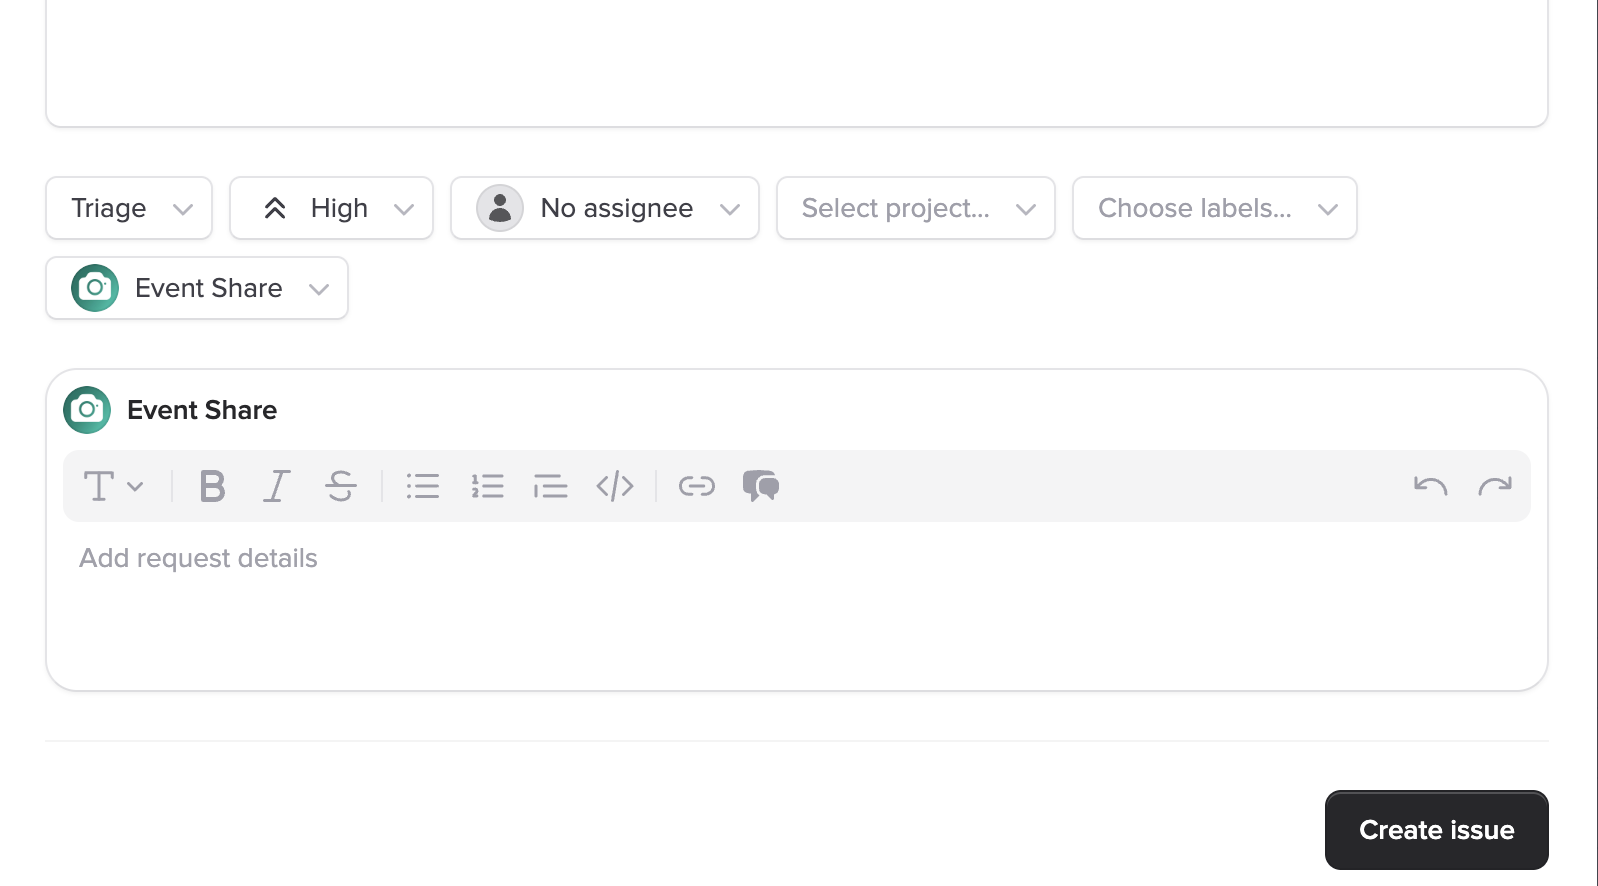
The customer "Event Share" is automatically selected because the visitor's email matches the eventshare.io domain.
In this example, the visitor Nick has the email [email protected]. Because the Linear customer "Event Share" has eventshare.io as a configured domain, Ticket Manager automatically selects them and opens a request details editor where agents can describe what the customer is asking for.
- Automatic selection — Customers are matched by email domain so agents don't have to search manually
- Request details — Add specific notes about what the customer needs using the rich text editor
- Multiple customers — Attach requests from several customers to a single ticket when the same issue affects more than one account
Tips
Keep domains up to date
Make sure your Linear customers have their email domains configured so auto-detection works reliably.
Close the loop
When the feature ships, use the customer list on the ticket to notify everyone who requested it.
Need help?
If you run into any issues with re-authentication or customer requests, reach out to us via the chat widget on this page.