Complete guide to setting up and using Ticket Manager to bridge your Crisp Chat conversations with
Linear tickets.
Important Disclaimer
This is not an "official" Linear integration for Crisp. We are a third party service that
securely connects to your Linear account using OAuth 2.0 Authentication.
You can revoke access at any time. We only request essential permissions needed to create
and manage tickets your team creates within Crisp.
Overview
Ticket Manager connects your Linear workspace with Crisp,
letting your support team create and manage Linear tickets without ever leaving the Crisp inbox.
Create tickets directly from conversations
Link existing tickets to conversations
Bidirectional sync keeps everything updated
No Linear account needed for support staff
Setting Up Your Linear Account
Connect your Linear workspace to start creating and managing tickets from Crisp.
This one-time setup uses secure OAuth authentication and takes less than a minute.
1
Start the Connection
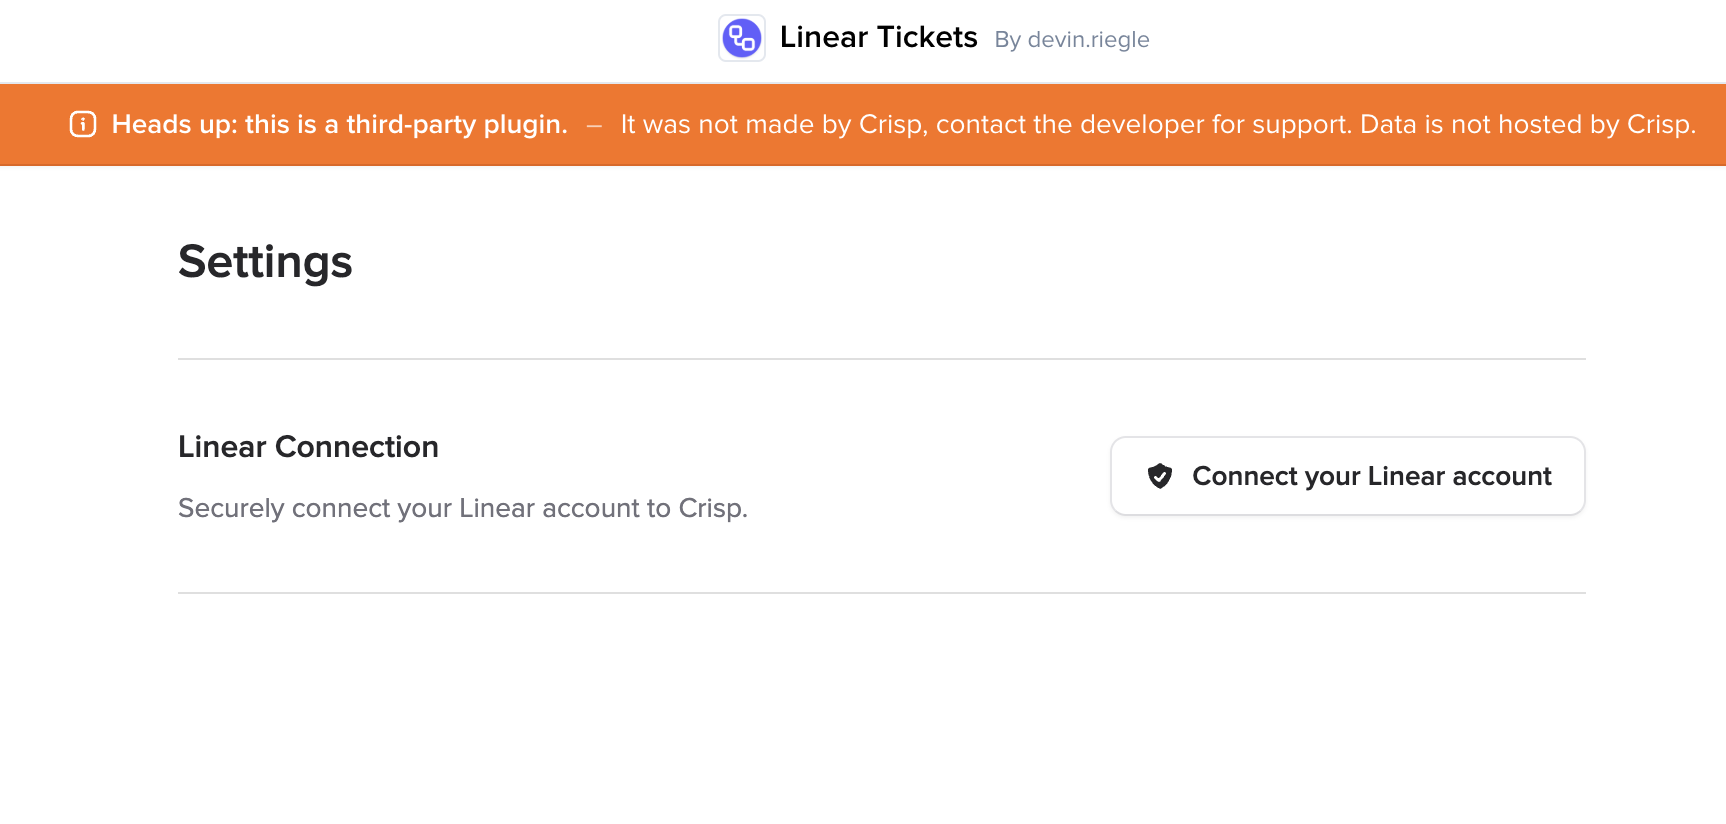
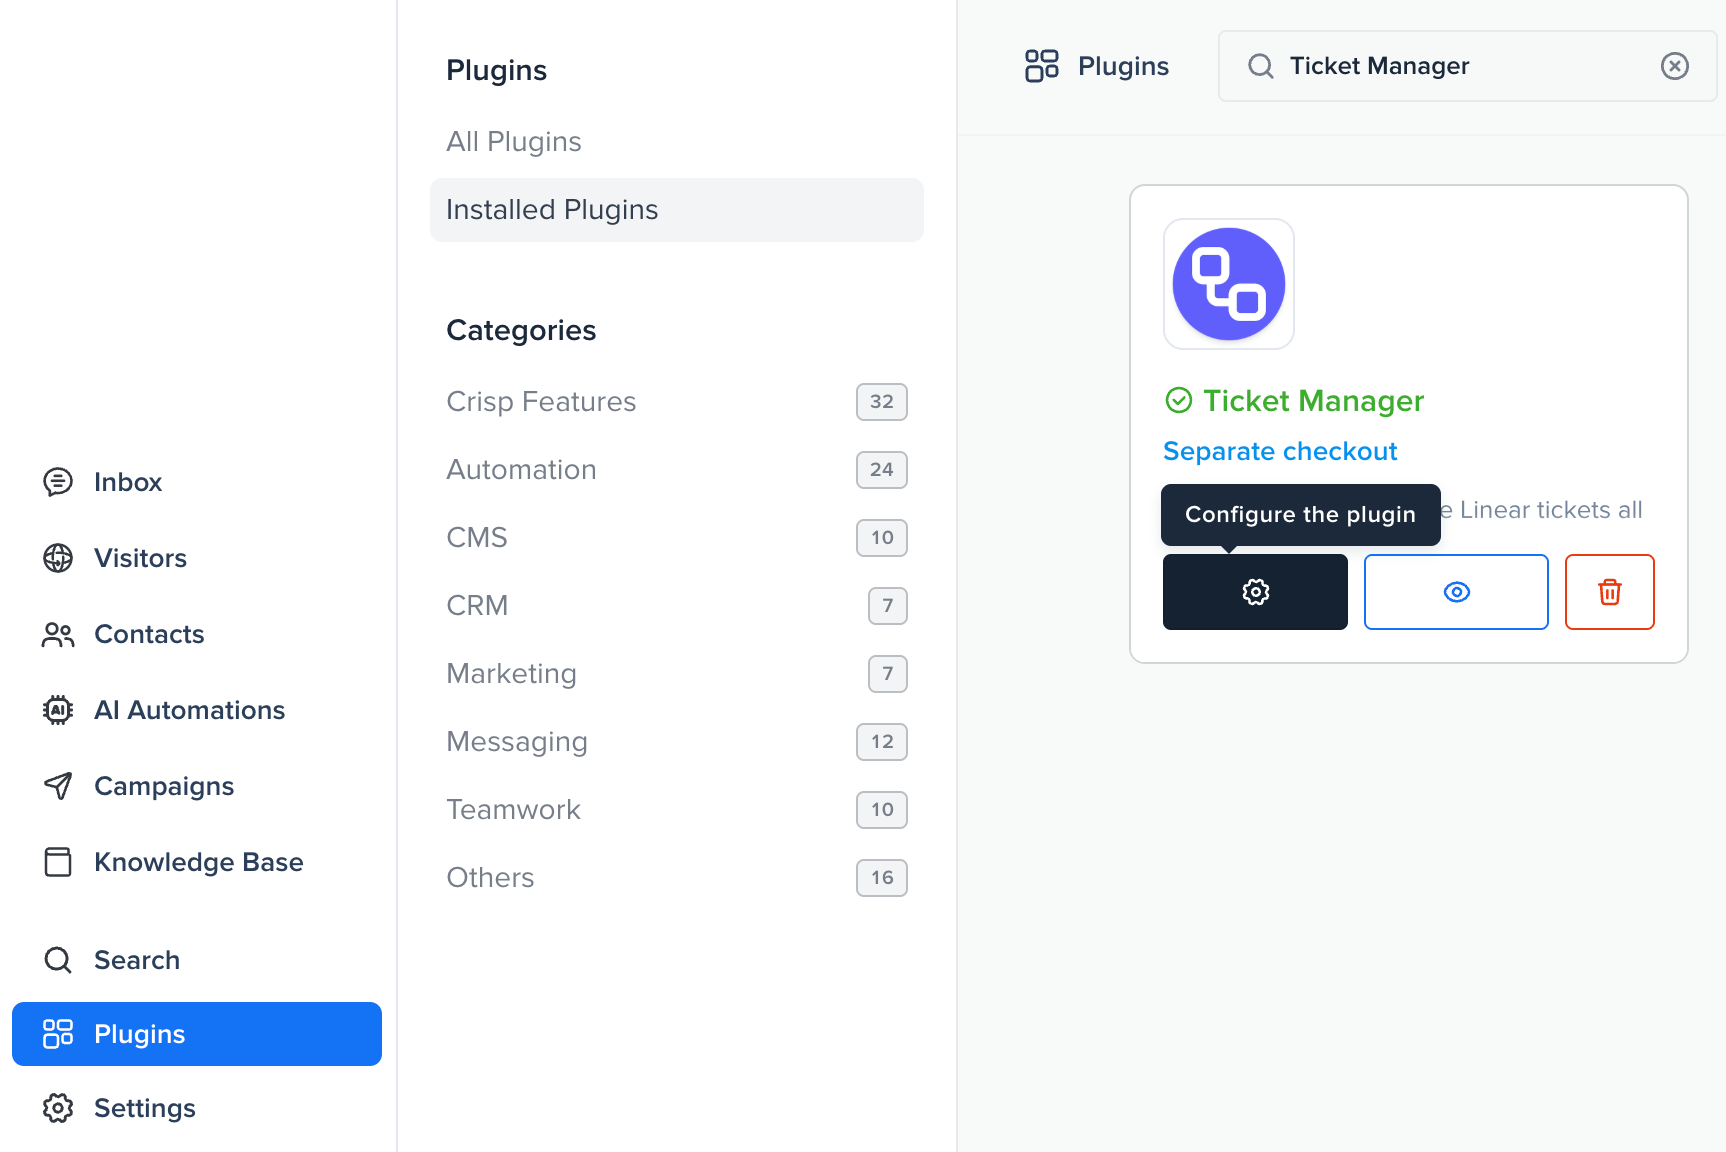
Open the Ticket Manager plugin in Crisp and click the "Connect your Linear account" button
on the settings page.
2
Authorize Access
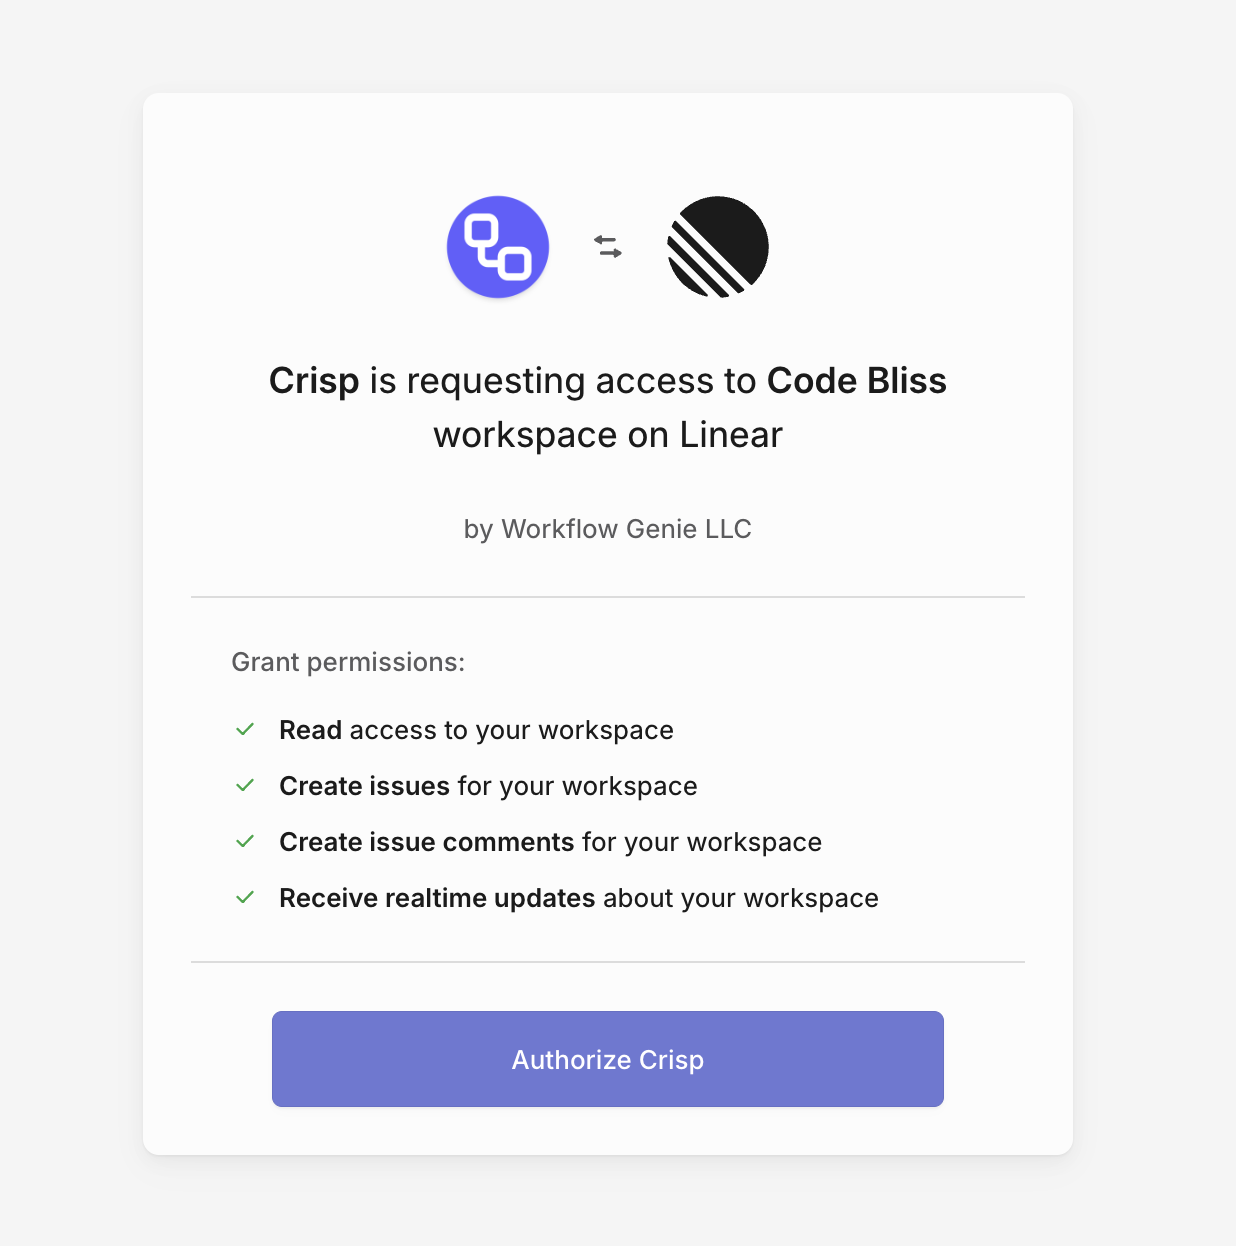
You'll be redirected to Linear's authorization page. Review the permissions requested,
then click "Authorize" to grant access.
3
You're Connected!
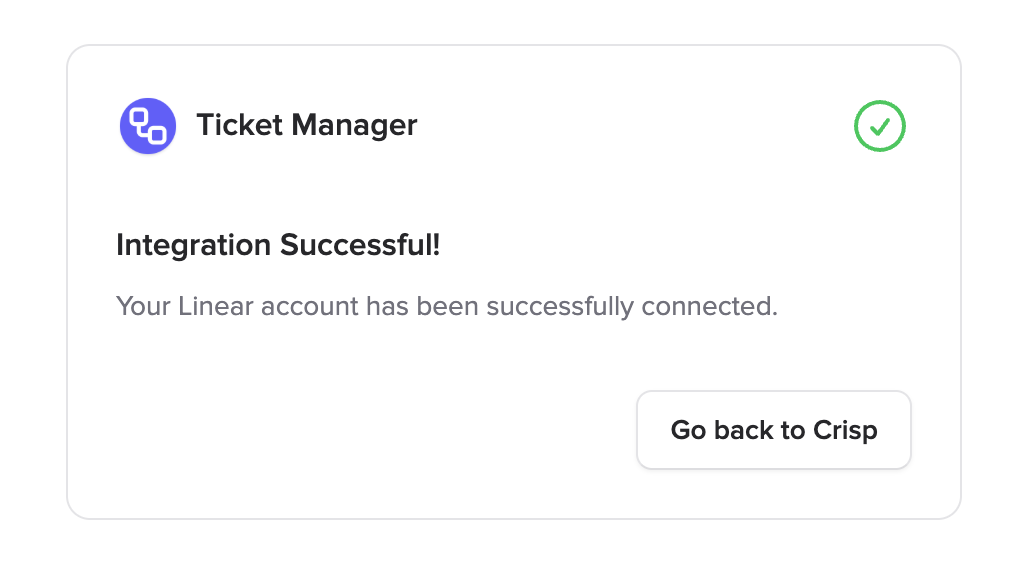
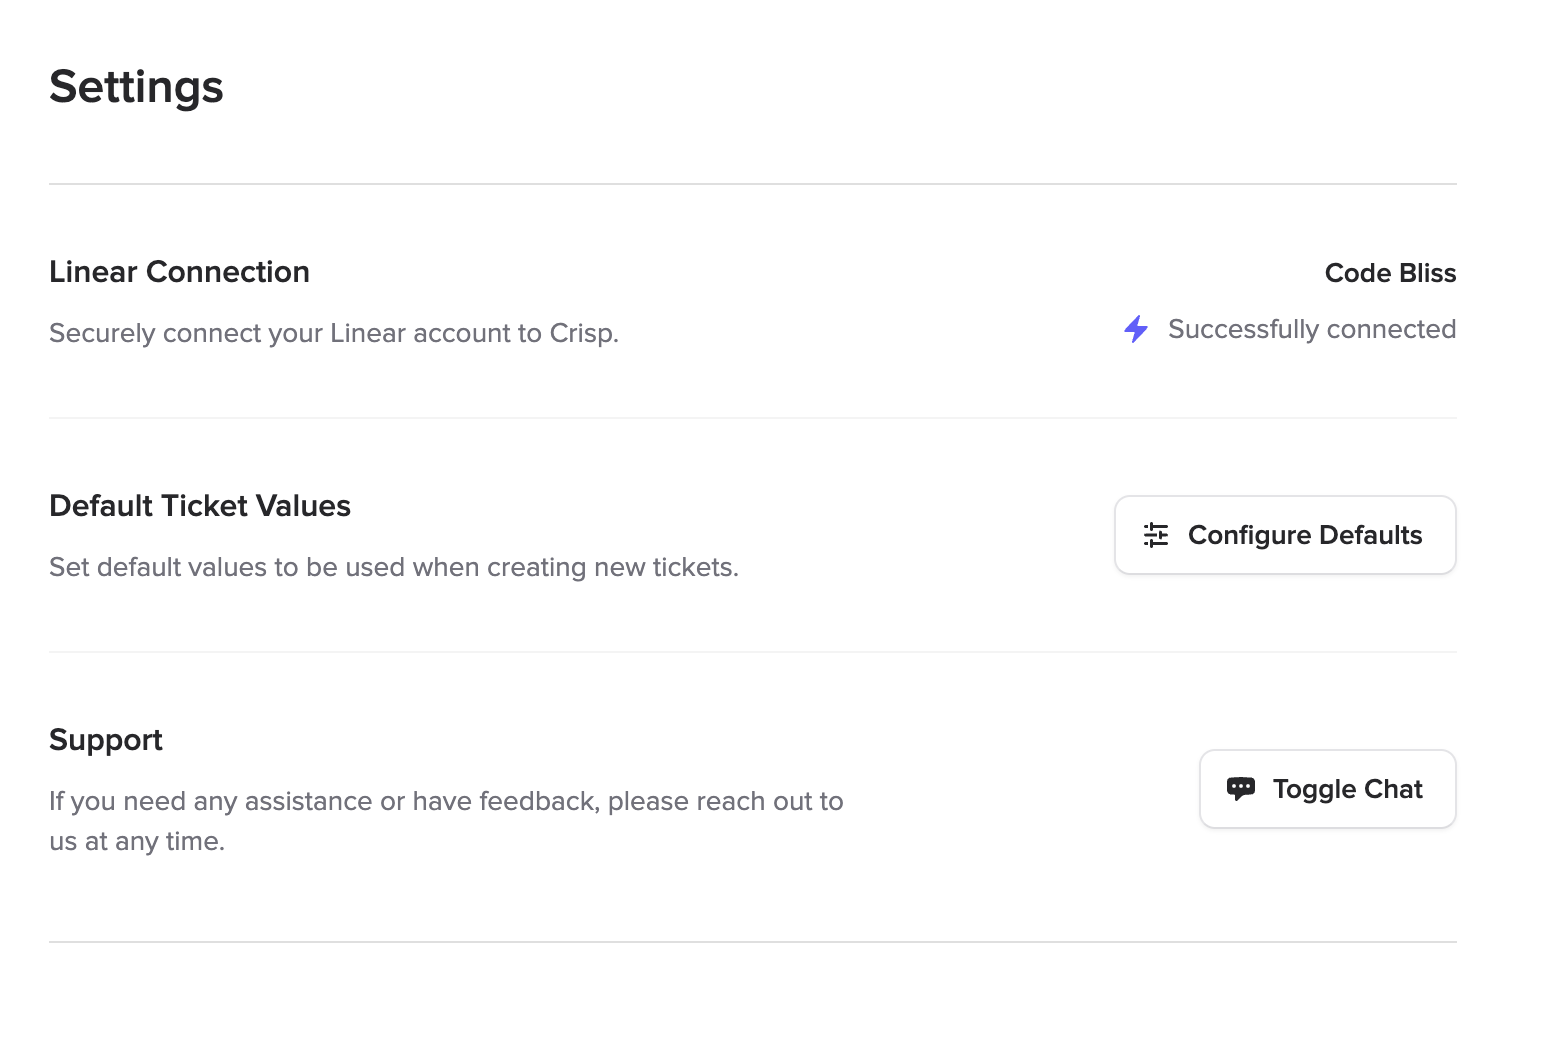
Once authorized, you'll see a success confirmation. Close this window and return to Crisp
to start using Ticket Manager.
Creating a New Ticket
Turn any customer conversation into a trackable Linear ticket in seconds.
The ticket will be automatically linked to the conversation, so updates sync both ways.
1
Open the Ticket Form
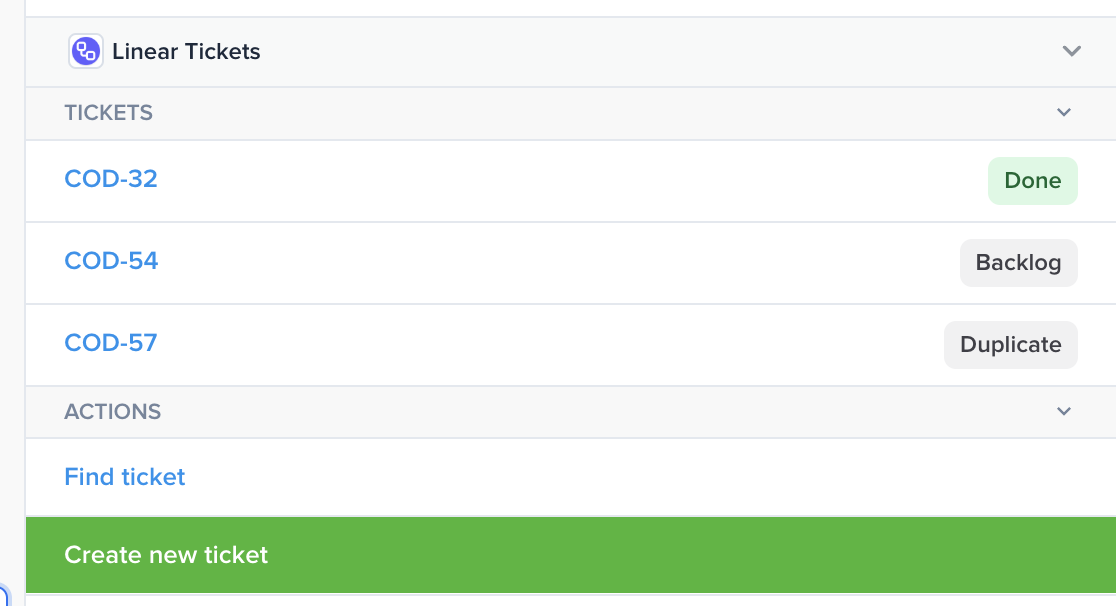
While viewing a conversation in Crisp, click the "Create new ticket" button in the
Ticket Manager plugin panel.
2
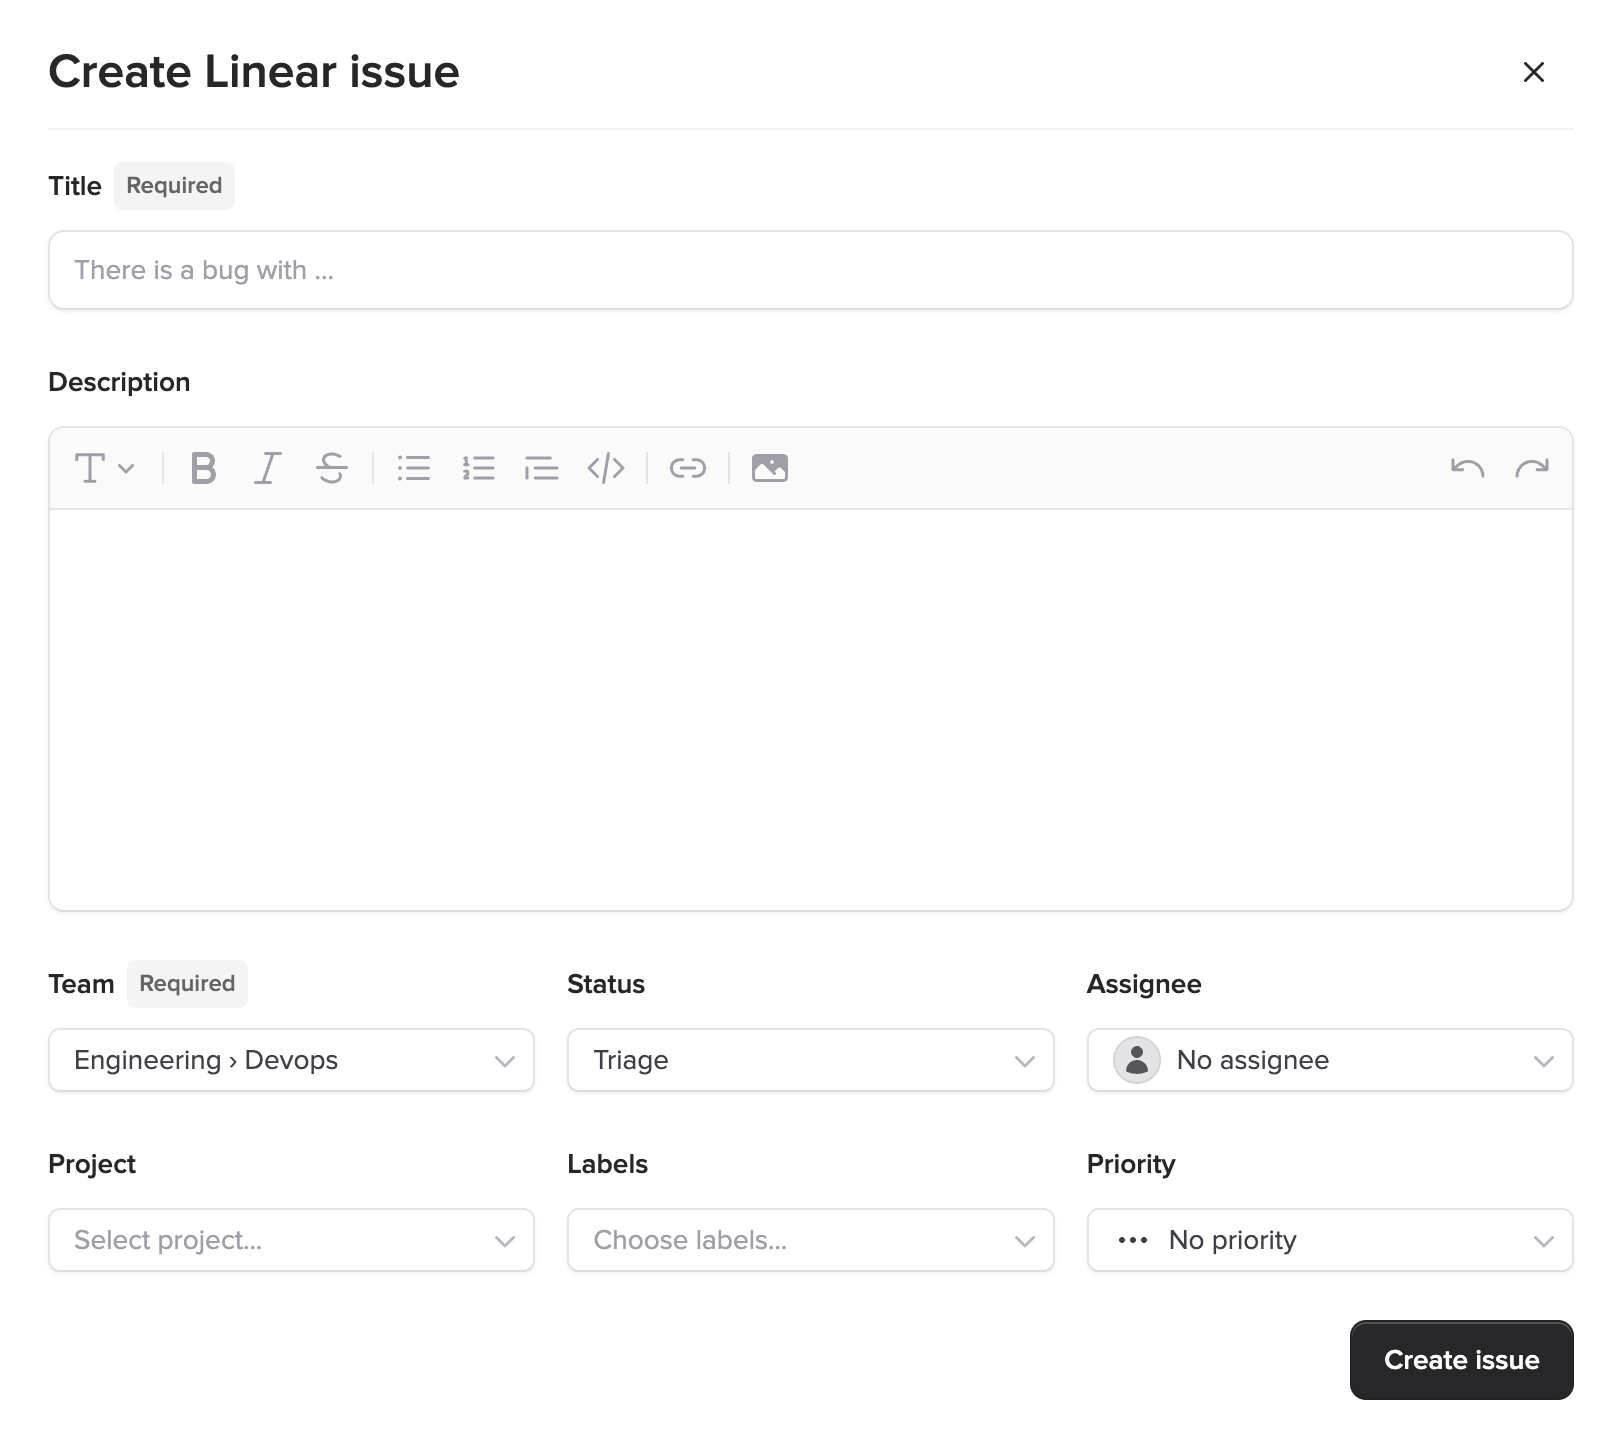
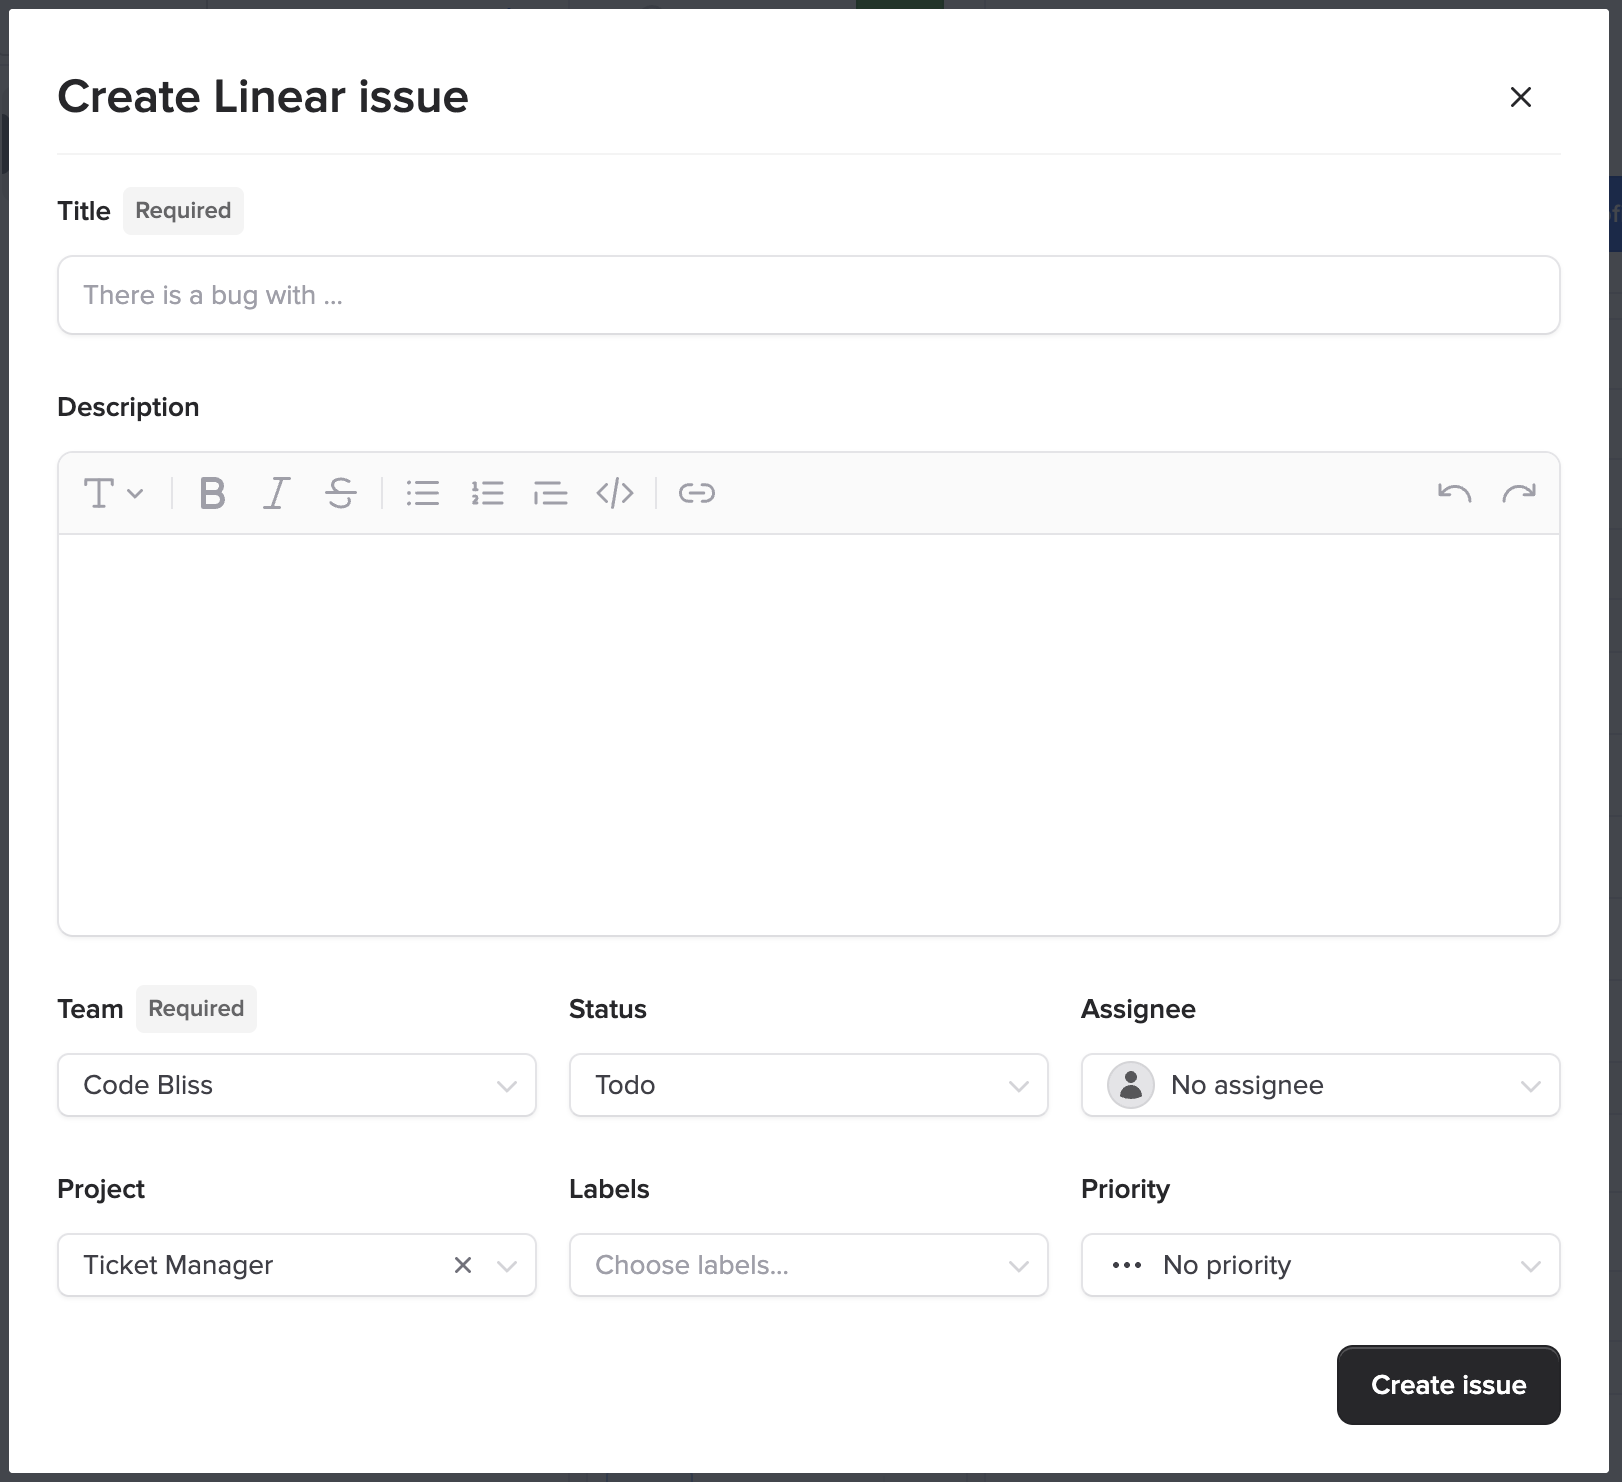
Fill in the Details
Enter a title and description for the ticket. You can also set the team, project,
status, priority, labels, and assignee. Click "Create issue" when ready.
3
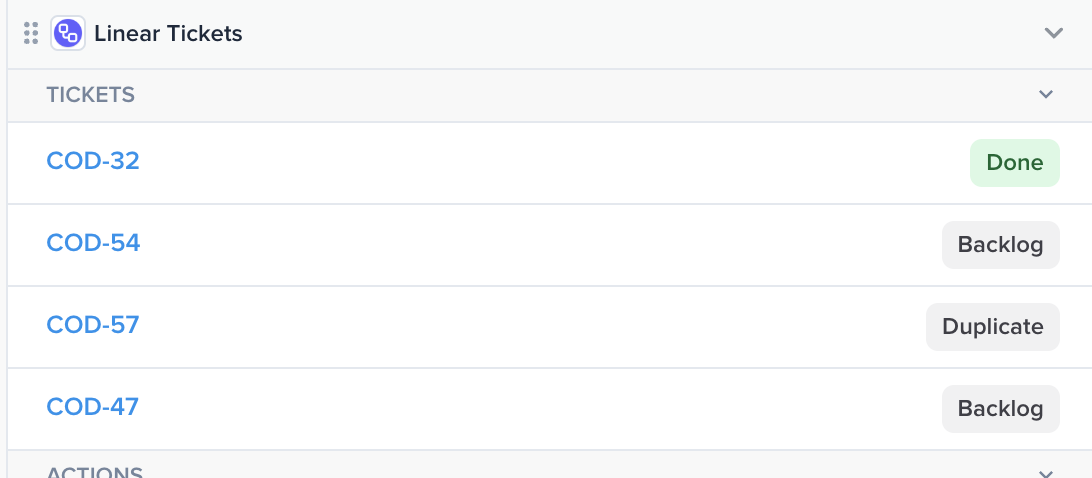
Track Your Ticket
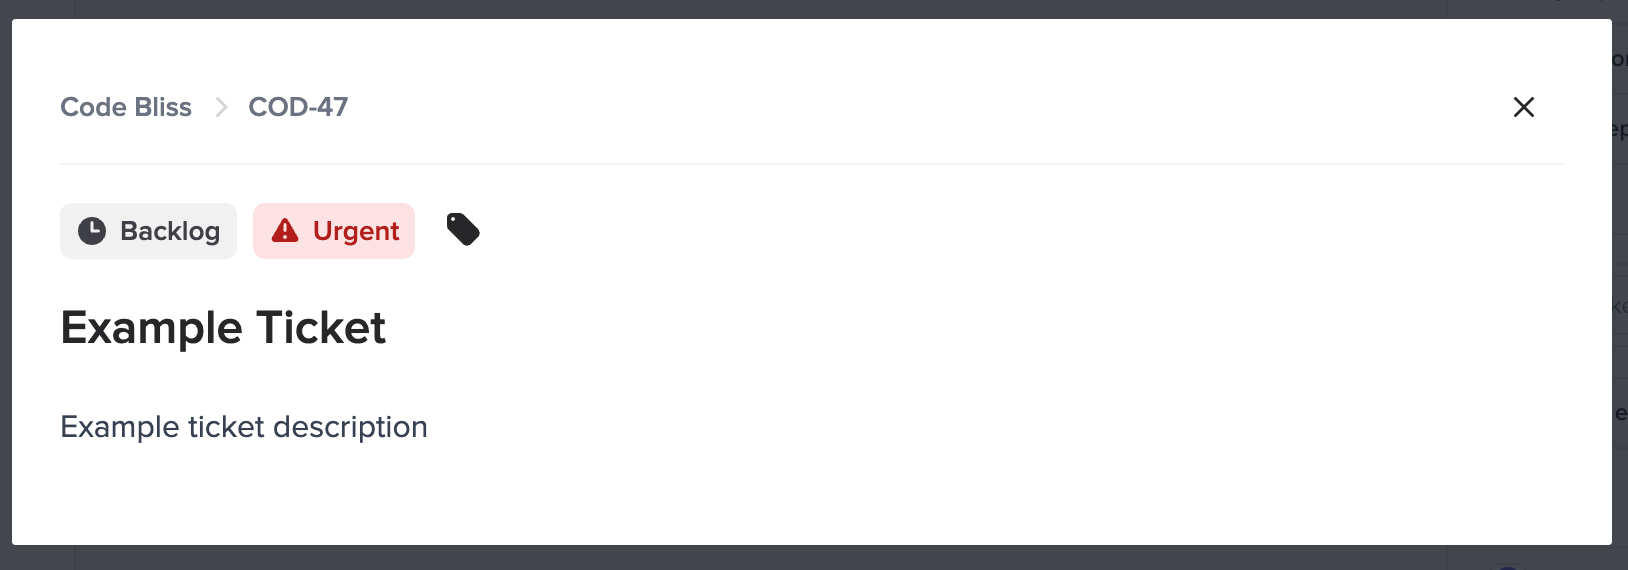
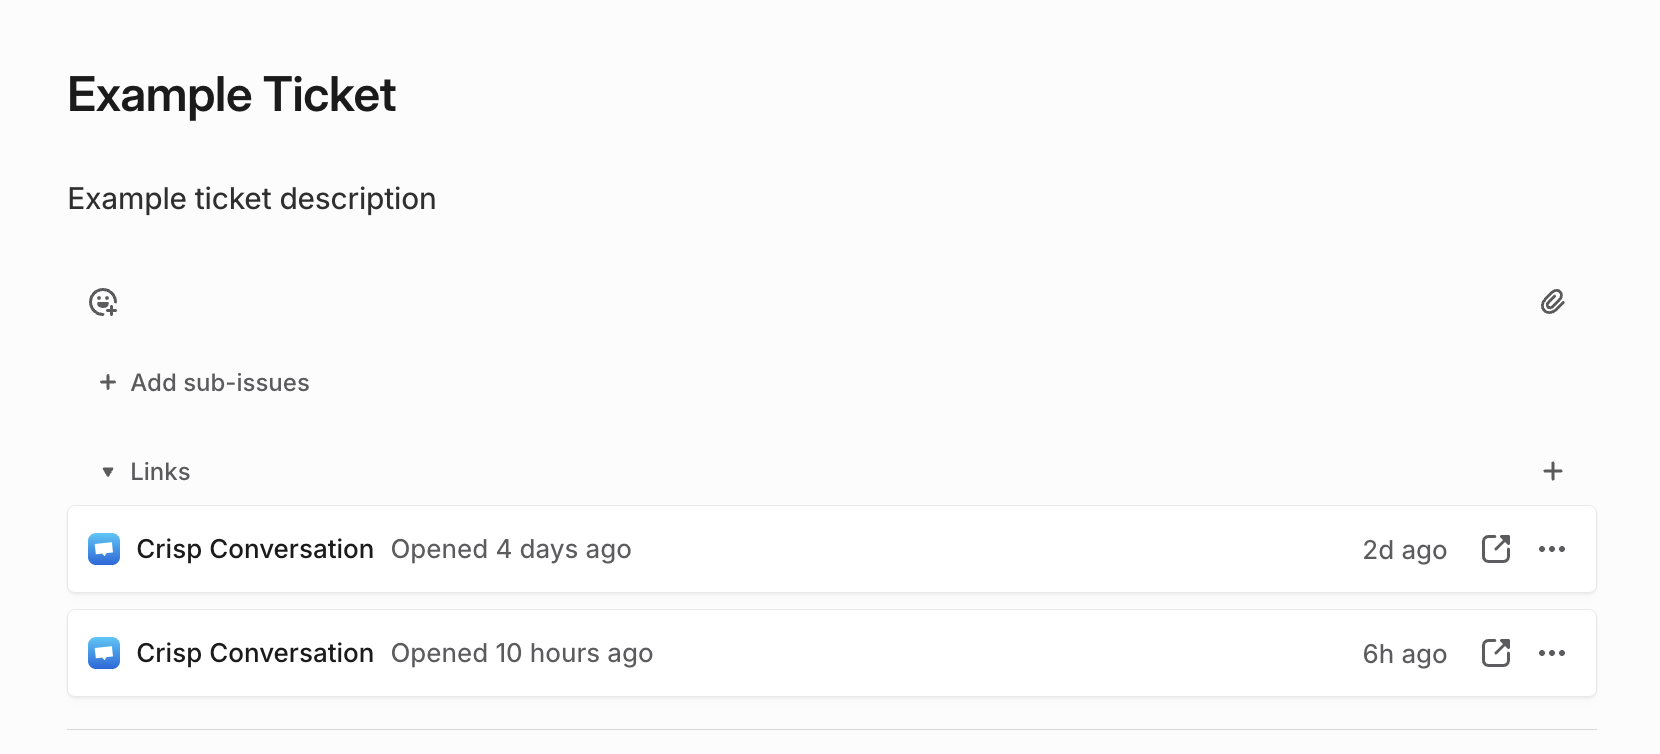
Your new ticket appears in the "Tickets" list and is automatically linked to the conversation.
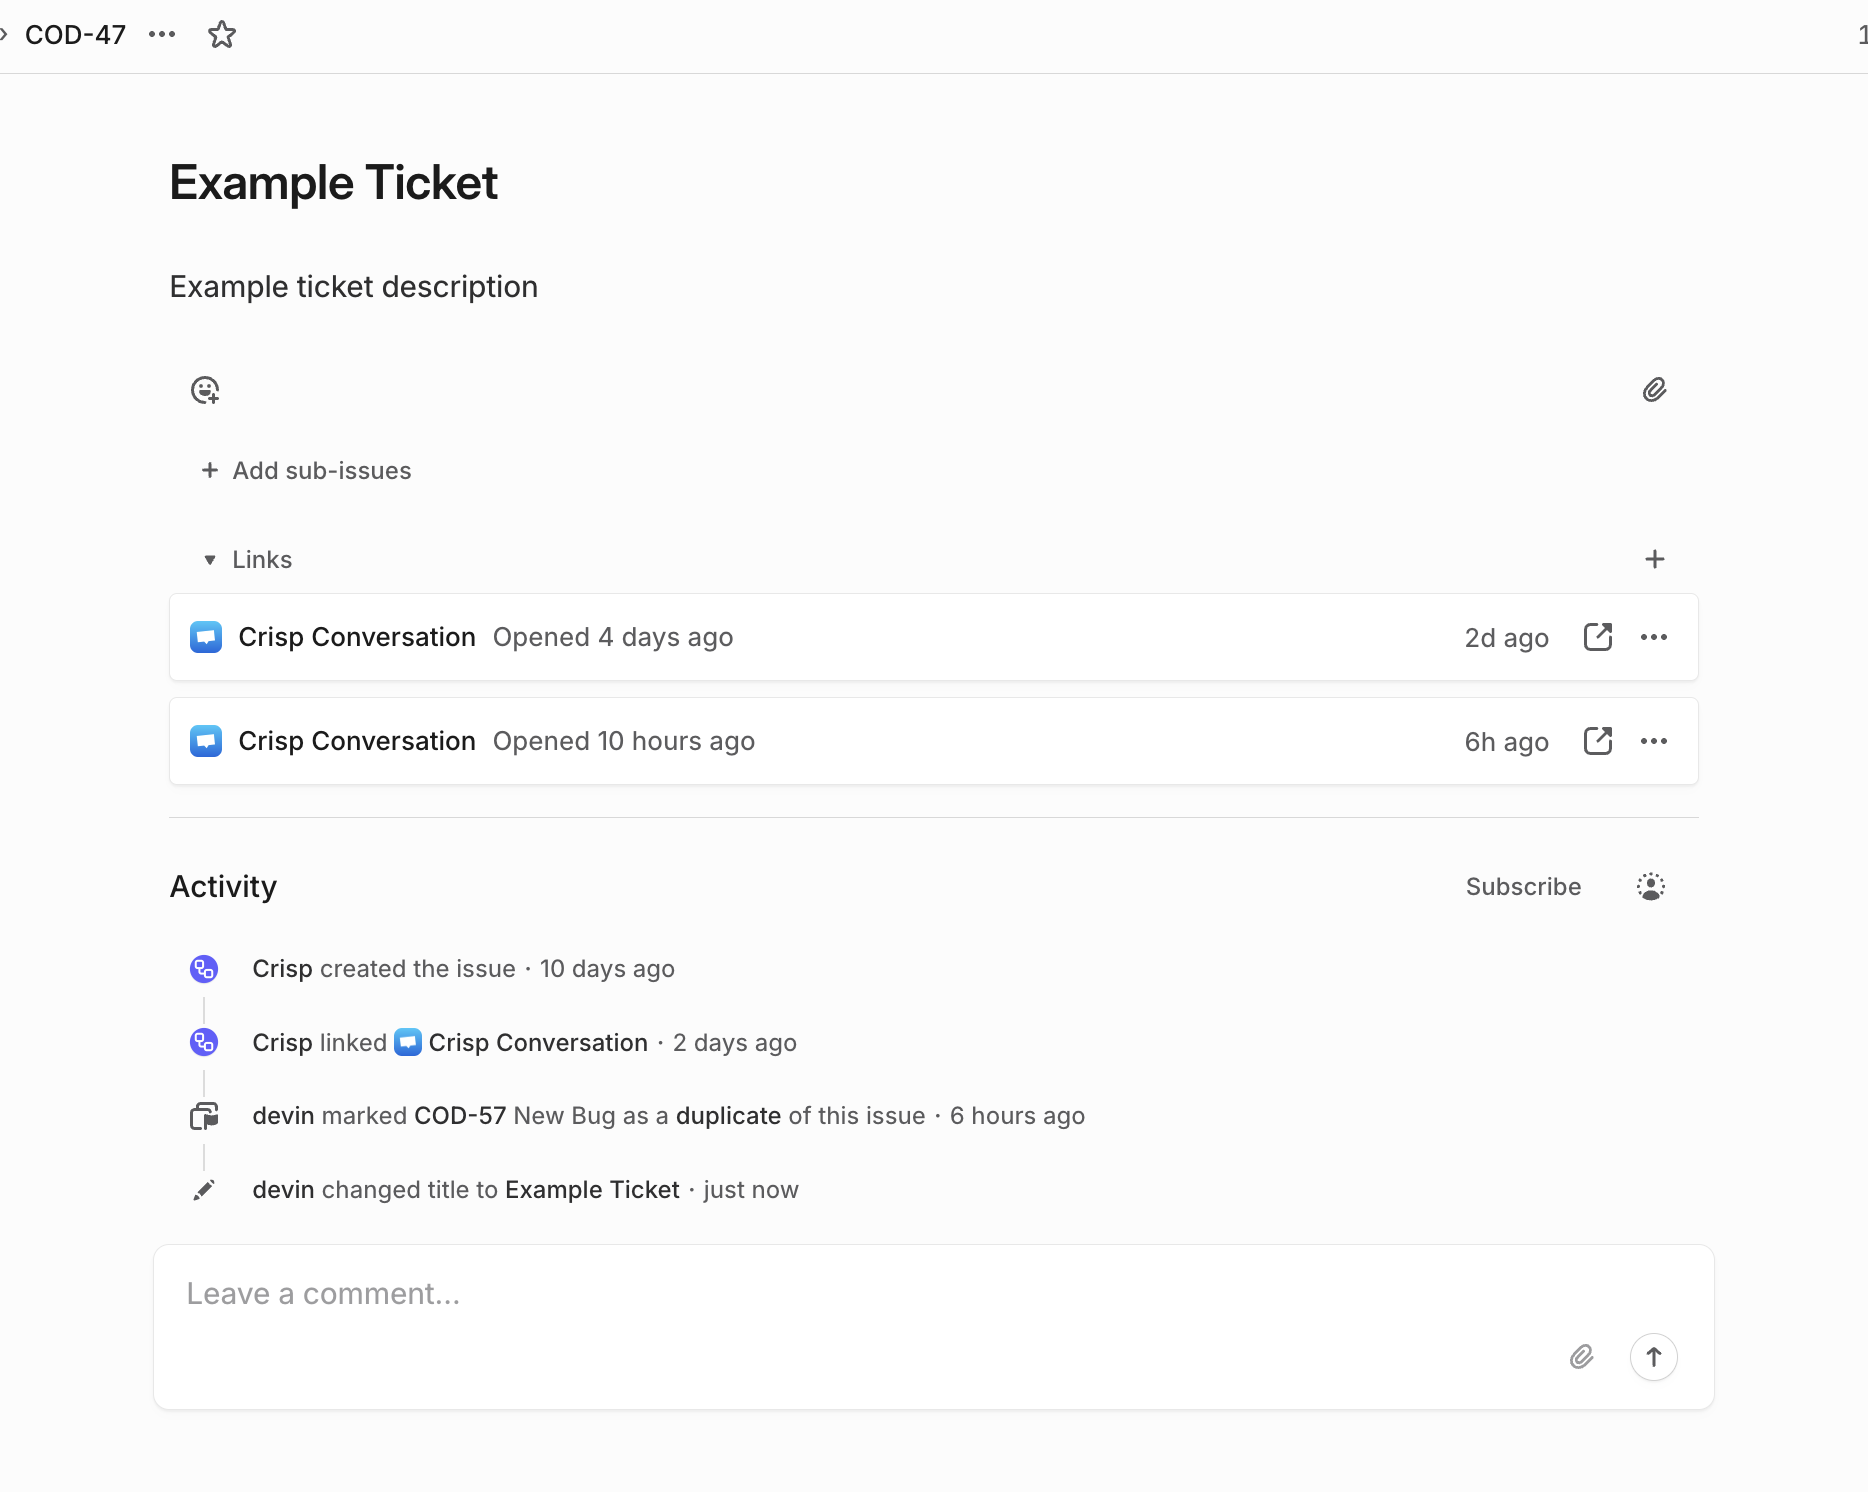
Any changes made in Linear (status updates, comments, etc.) will sync back to Crisp in real-time.
Linking an Existing Ticket
Already have a ticket in Linear? Link it to a Crisp conversation to keep everything connected.
This is useful when a customer follows up on an existing issue or when multiple conversations relate to the same ticket.
1
Open the Search
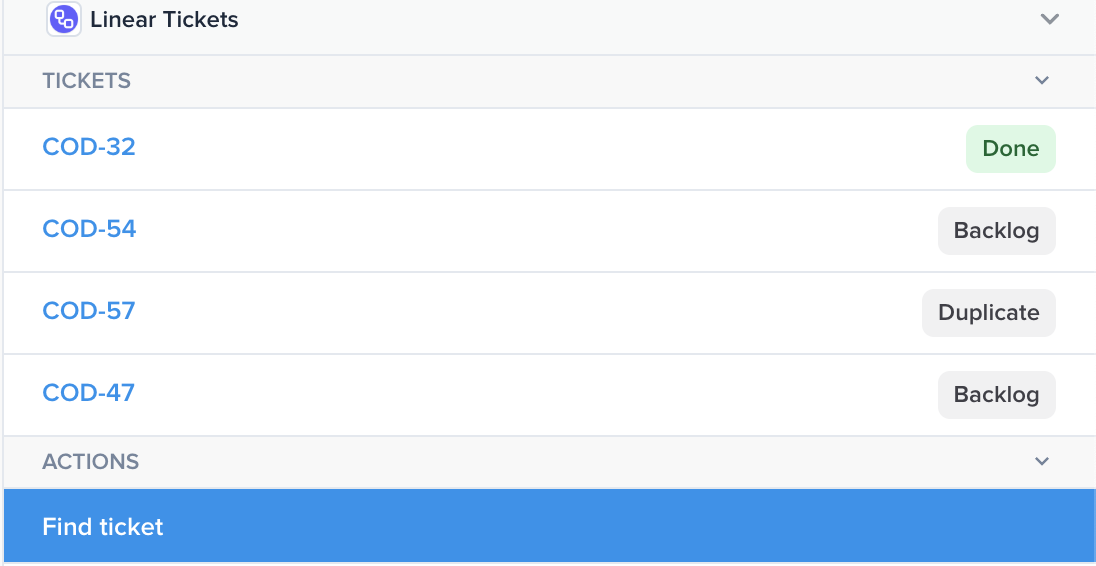
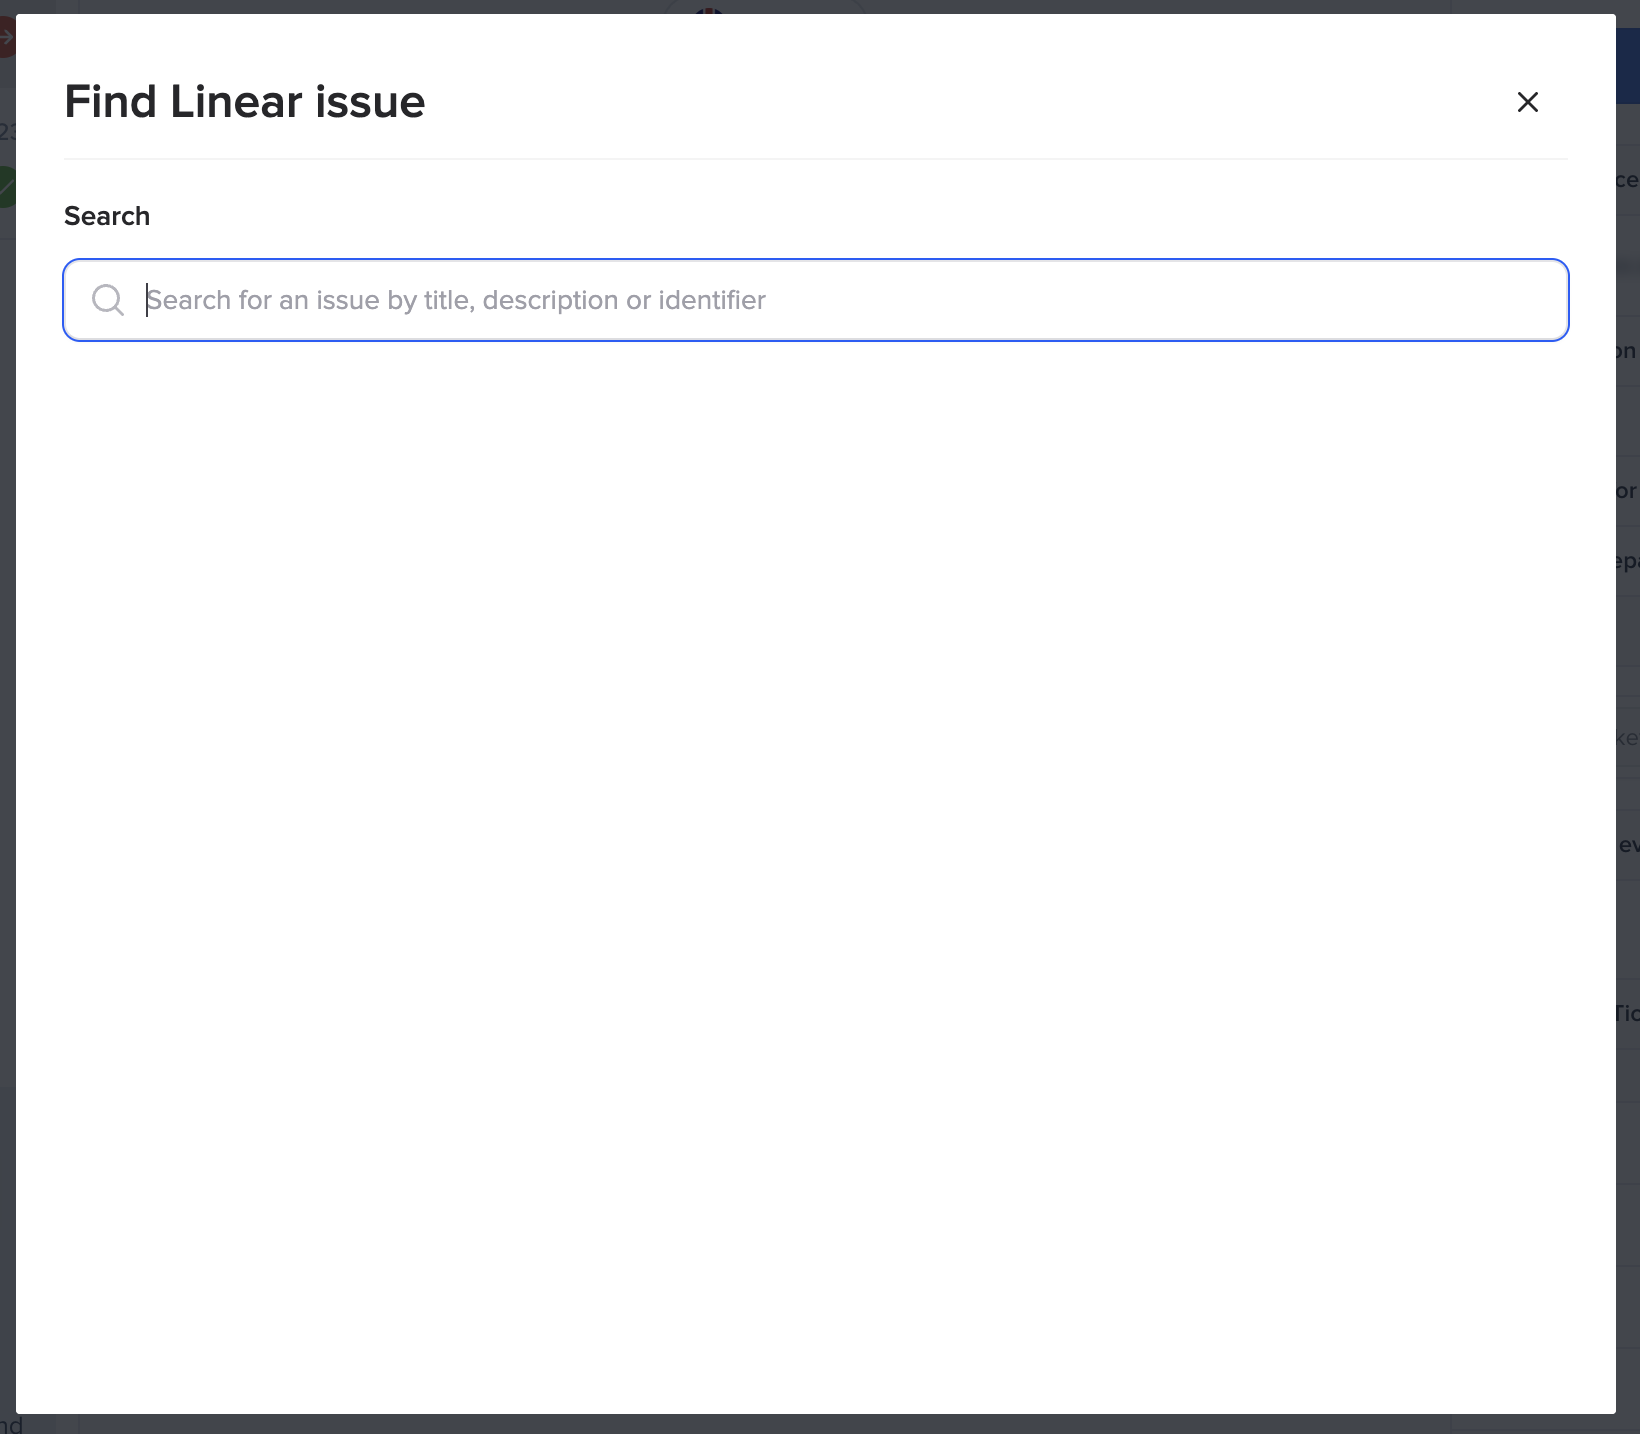
Click the "Find ticket" button in the Ticket Manager plugin panel to open the ticket search.
2
Find Your Ticket
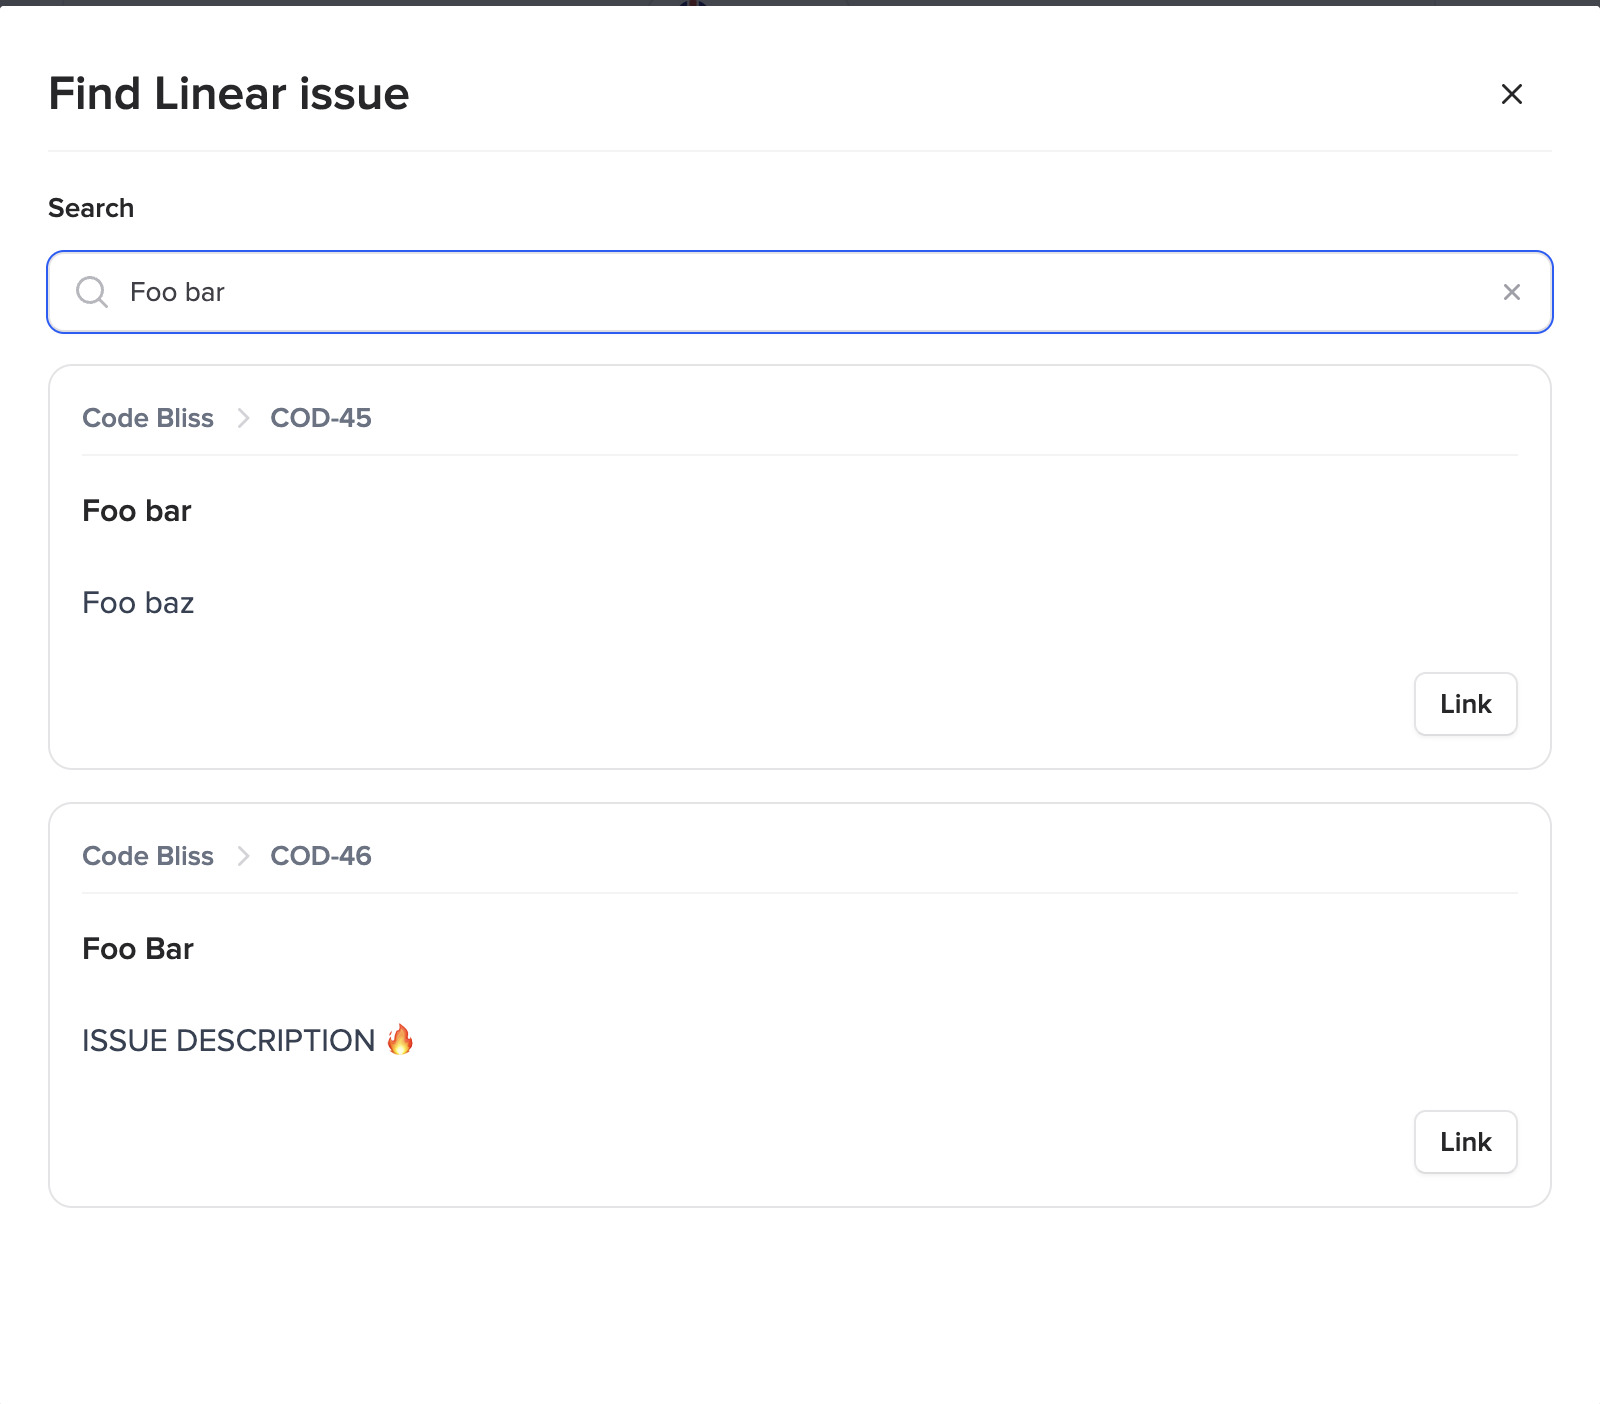
Search by ticket title, ID, or keywords. You can browse through your team's tickets
to find the one you need.
3
Link and Sync
Click "Link" next to the ticket you want to connect. The ticket will appear in your
"Tickets" list and stay synced with Linear, just like a newly created ticket.
Configuring Default Ticket Values
Save time by pre-filling ticket fields with your preferred values. When you create a new ticket,
these defaults will be automatically selected, so you can create tickets faster with fewer clicks.
Available default settings
Team
Project
Status
Priority
Labels
Assignee
1
Open the Plugin Settings
Navigate to your Crisp inbox and open the Ticket Manager plugin. You'll find a
"Default Ticket Values" section on the settings page.
2
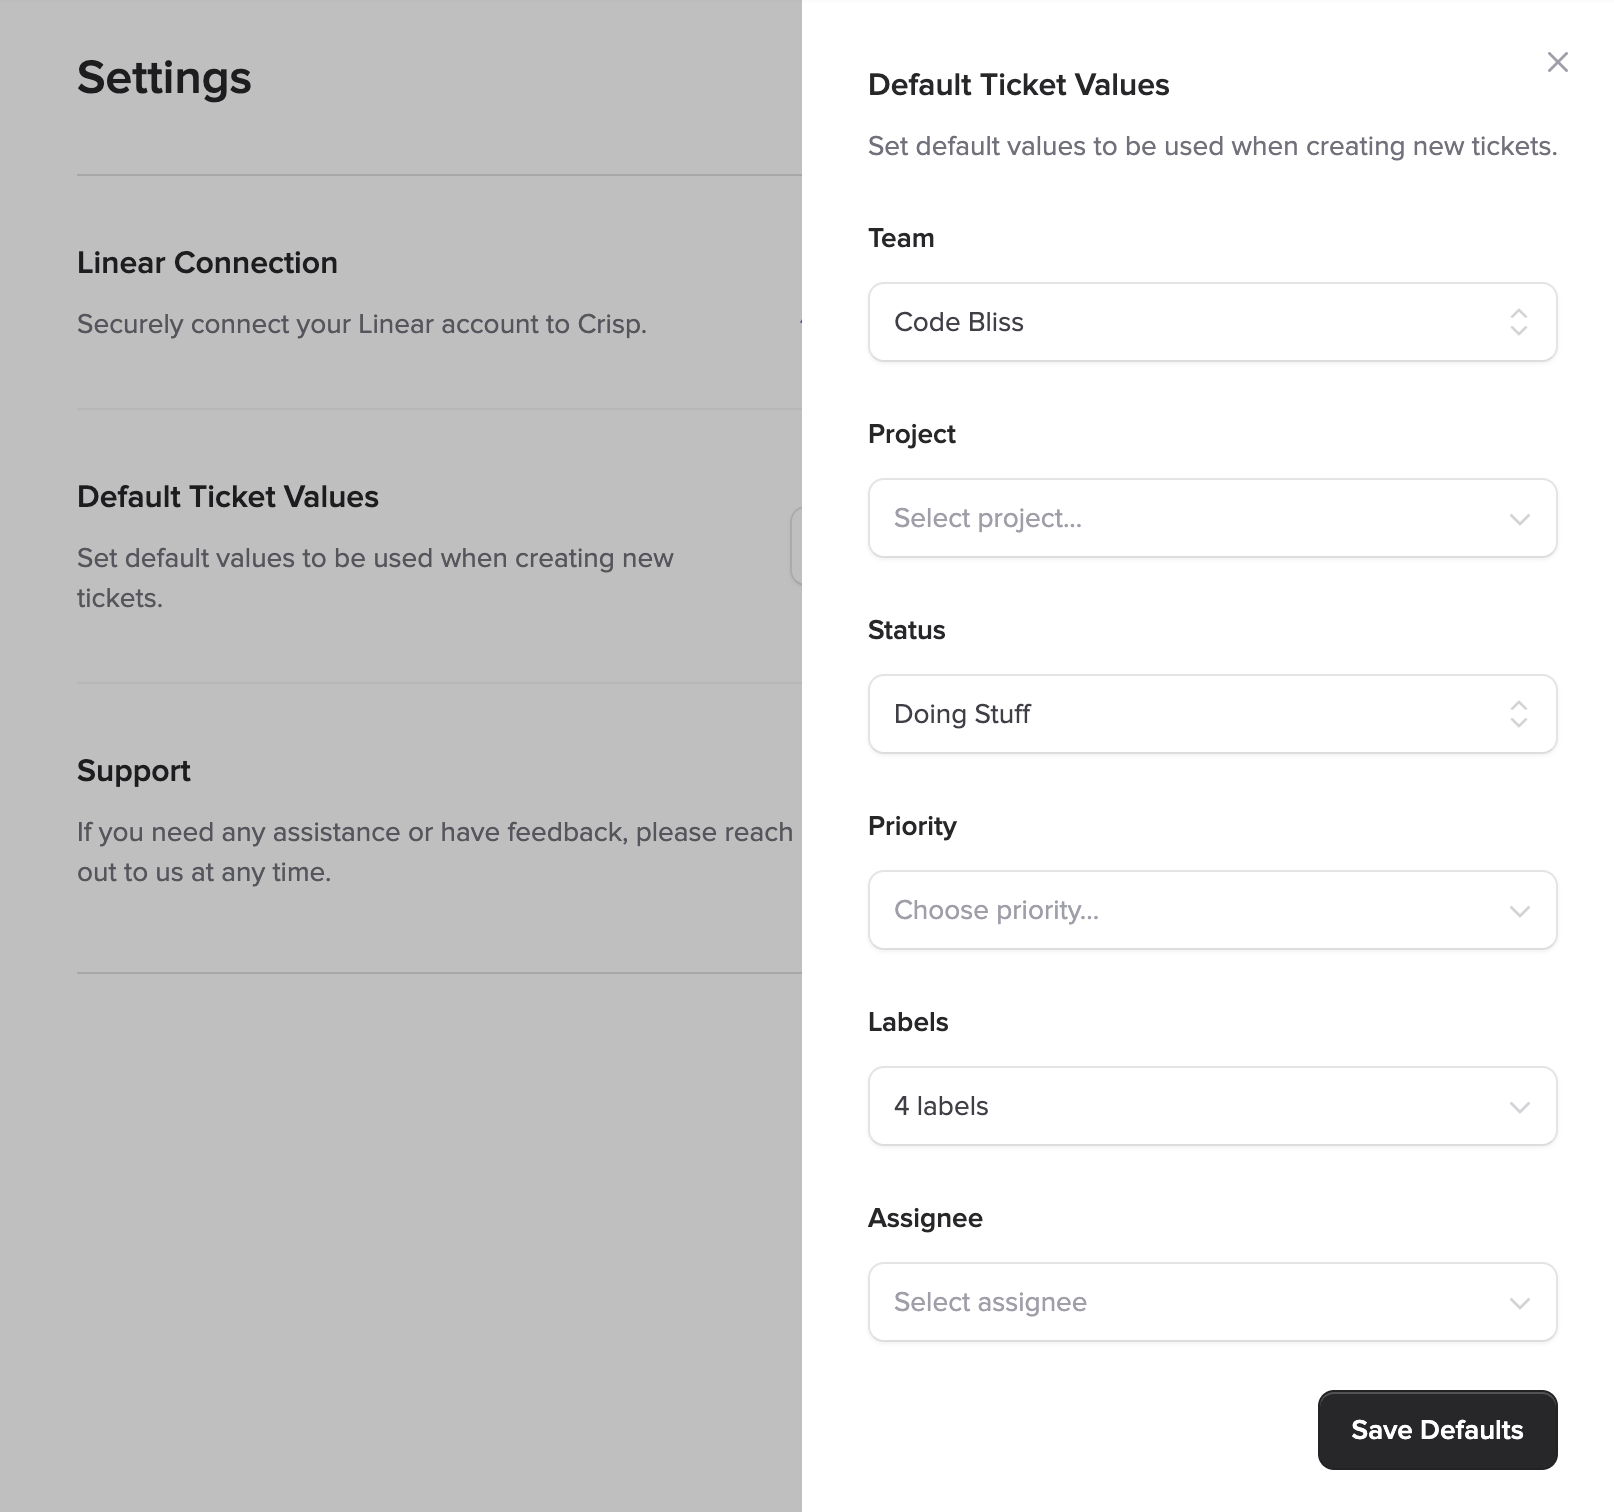
Open the Configuration Modal
Click the "Configure Defaults" button to open a modal where you can set your preferred values.
3
Choose Your Default Values
Select your preferred team, project, status, priority, labels, and assignee.
Note that project, status, and label options will update based on your selected team.
Click "Save Defaults" when you're done.
4
Create Tickets Faster
That's it! When you create new tickets, your defaults will be pre-selected automatically.
You can still override any value for individual tickets when needed.
Auto-Create Tickets
Automation
Automatically create a Linear ticket whenever a new Crisp conversation starts. This is ideal for
high-volume support teams who want to ensure every customer request is tracked without manual effort.
Prerequisite
You must configure default ticket values before enabling auto-create.
The system uses your default team, project, priority, and labels when creating tickets automatically.
1
Configure Default Values First
Before enabling auto-create, make sure you've set up your
default ticket values.
Auto-created tickets will use these defaults for team, project, priority, labels, and assignee.
2
Open the Plugin Settings
Navigate to your Crisp inbox and open the Ticket Manager plugin. You'll find an
"Automations" section on the settings page.
3
Open the Automations Modal
Click the "Configure Automations" button to open a modal where you can enable or disable automations.
4
Enable Auto-Create
Toggle on "Create Linear Tickets Automatically" and save your settings.
From now on, every new Crisp conversation will automatically have a Linear ticket created and linked to it.
How it works
When a customer initiates a new conversation in Crisp, a Linear ticket is automatically created
The ticket uses your configured default team, project, priority, labels, and assignee
The ticket is automatically linked to the Crisp conversation for bidirectional sync
If a conversation already has a linked ticket, no duplicate will be created
Ticket Completion Notes
Automation
Keep your support team informed when issues are resolved. When a linked Linear ticket is marked as done,
a note is automatically added to the Crisp conversation so your team knows the issue has been addressed.
1
Open the Plugin Settings
Navigate to your Crisp inbox and open the Ticket Manager plugin. You'll find an
"Automations" section on the settings page.
2
Open the Automations Modal
Click the "Configure Automations" button to open a modal where you can enable or disable automations.
3
Enable Completion Notes
Toggle on "Send Note on Ticket Completion" and save your settings.
4
Get Notified Automatically
When developers mark a Linear ticket as "Done", a stealth note is automatically
added to the linked Crisp conversation(s), keeping your support team in the loop.
What the note includes
Linear Ticket ENG-1234 marked as done.
Notes are sent as stealth notes, visible only to your team members in Crisp.
Pro tip
Completion notes are sent once per conversation. If a ticket is linked
to multiple conversations, each conversation receives its own note when the ticket is completed.
Custom Webhooks for Private Teams
Advanced
By default, Ticket Manager receives updates from Linear through our OAuth connection. However, if your
Linear workspace has private teams, OAuth webhooks cannot access events from those teams.
Custom webhooks solve this by letting you create a direct webhook connection between your private team and
Ticket Manager.
Feature activation required
Custom webhooks must be enabled for your account.
If you're interested in this feature, please contact us
and we'll enable it for you.
When do you need custom webhooks?
Your Linear workspace has private teams that you want to use with Ticket Manager
You notice that status updates or comments aren't syncing back to Crisp for certain teams
You can create tickets in a team but don't receive real-time updates from Linear
1
Open the Custom Webhooks Settings
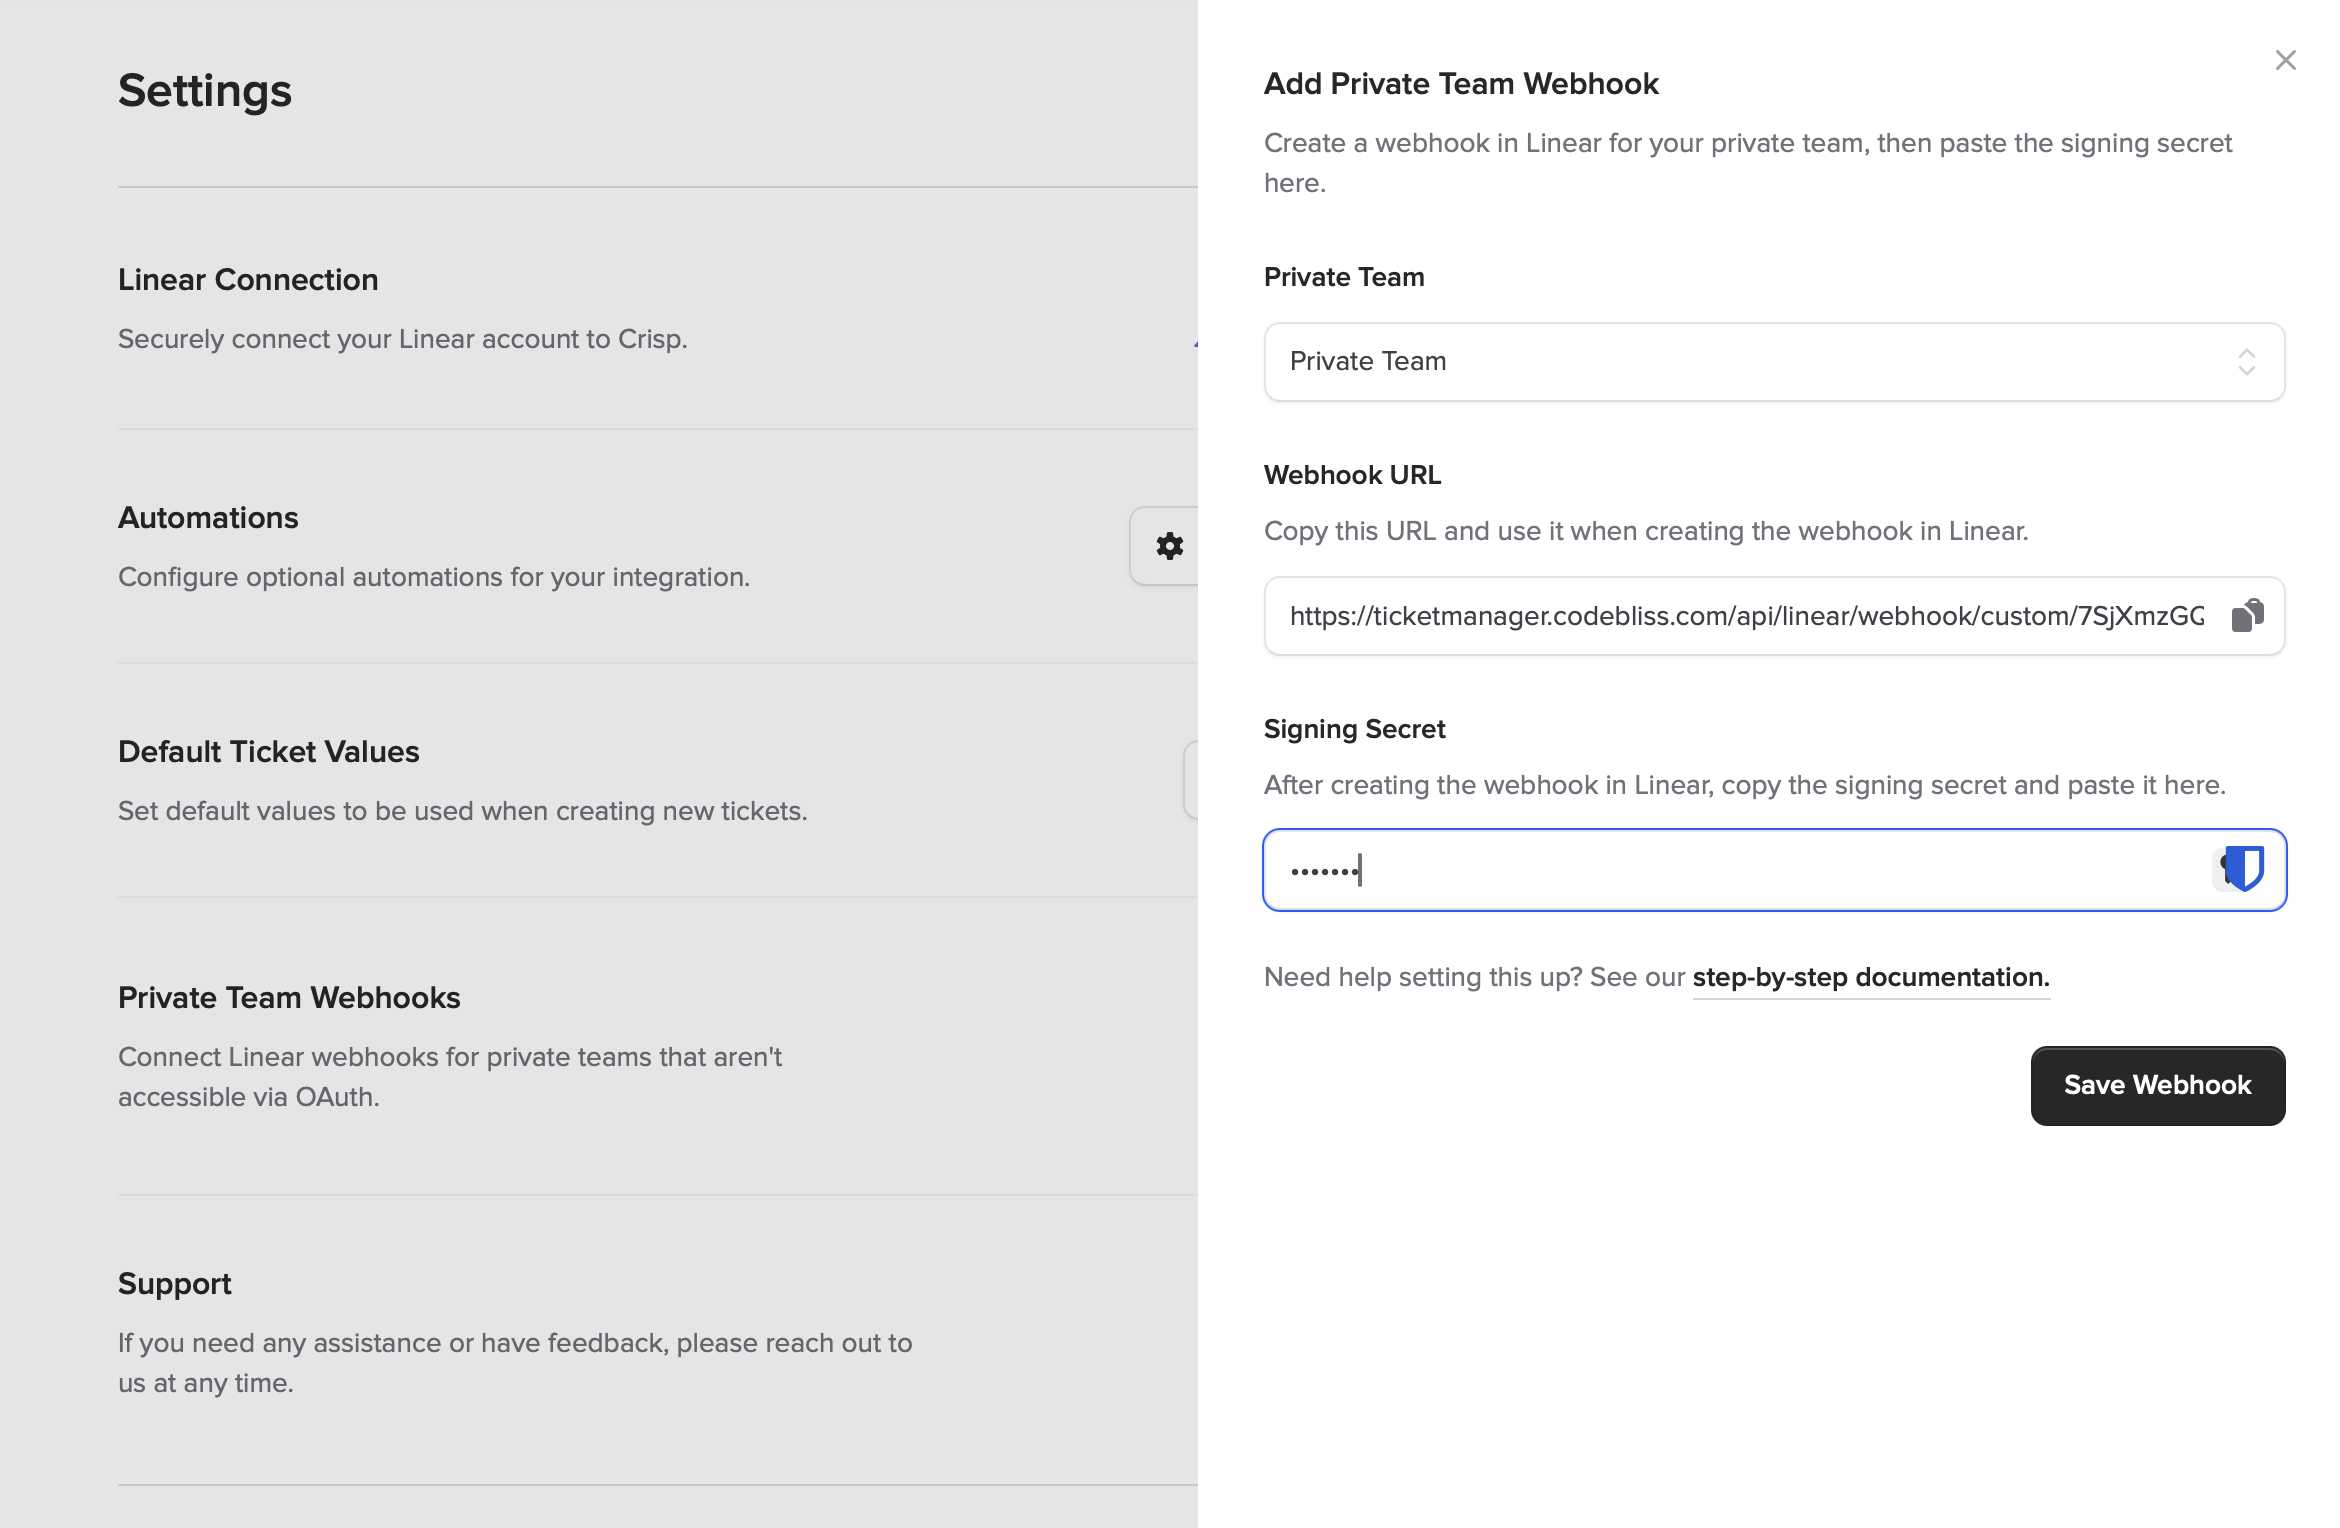
Once the feature has been enabled for your account, open the Ticket Manager plugin settings in Crisp.
You'll see a "Private Team Webhooks" section. Click "Add Webhook" to get started.
2
Select a Private Team
In the modal that opens, select the private team you want to connect from the dropdown.
Only private teams that don't already have a webhook configured will be shown.
3
Copy the Webhook URL
A unique webhook URL will be generated for you. Copy this URL — you'll need it when
creating the webhook in Linear.
4
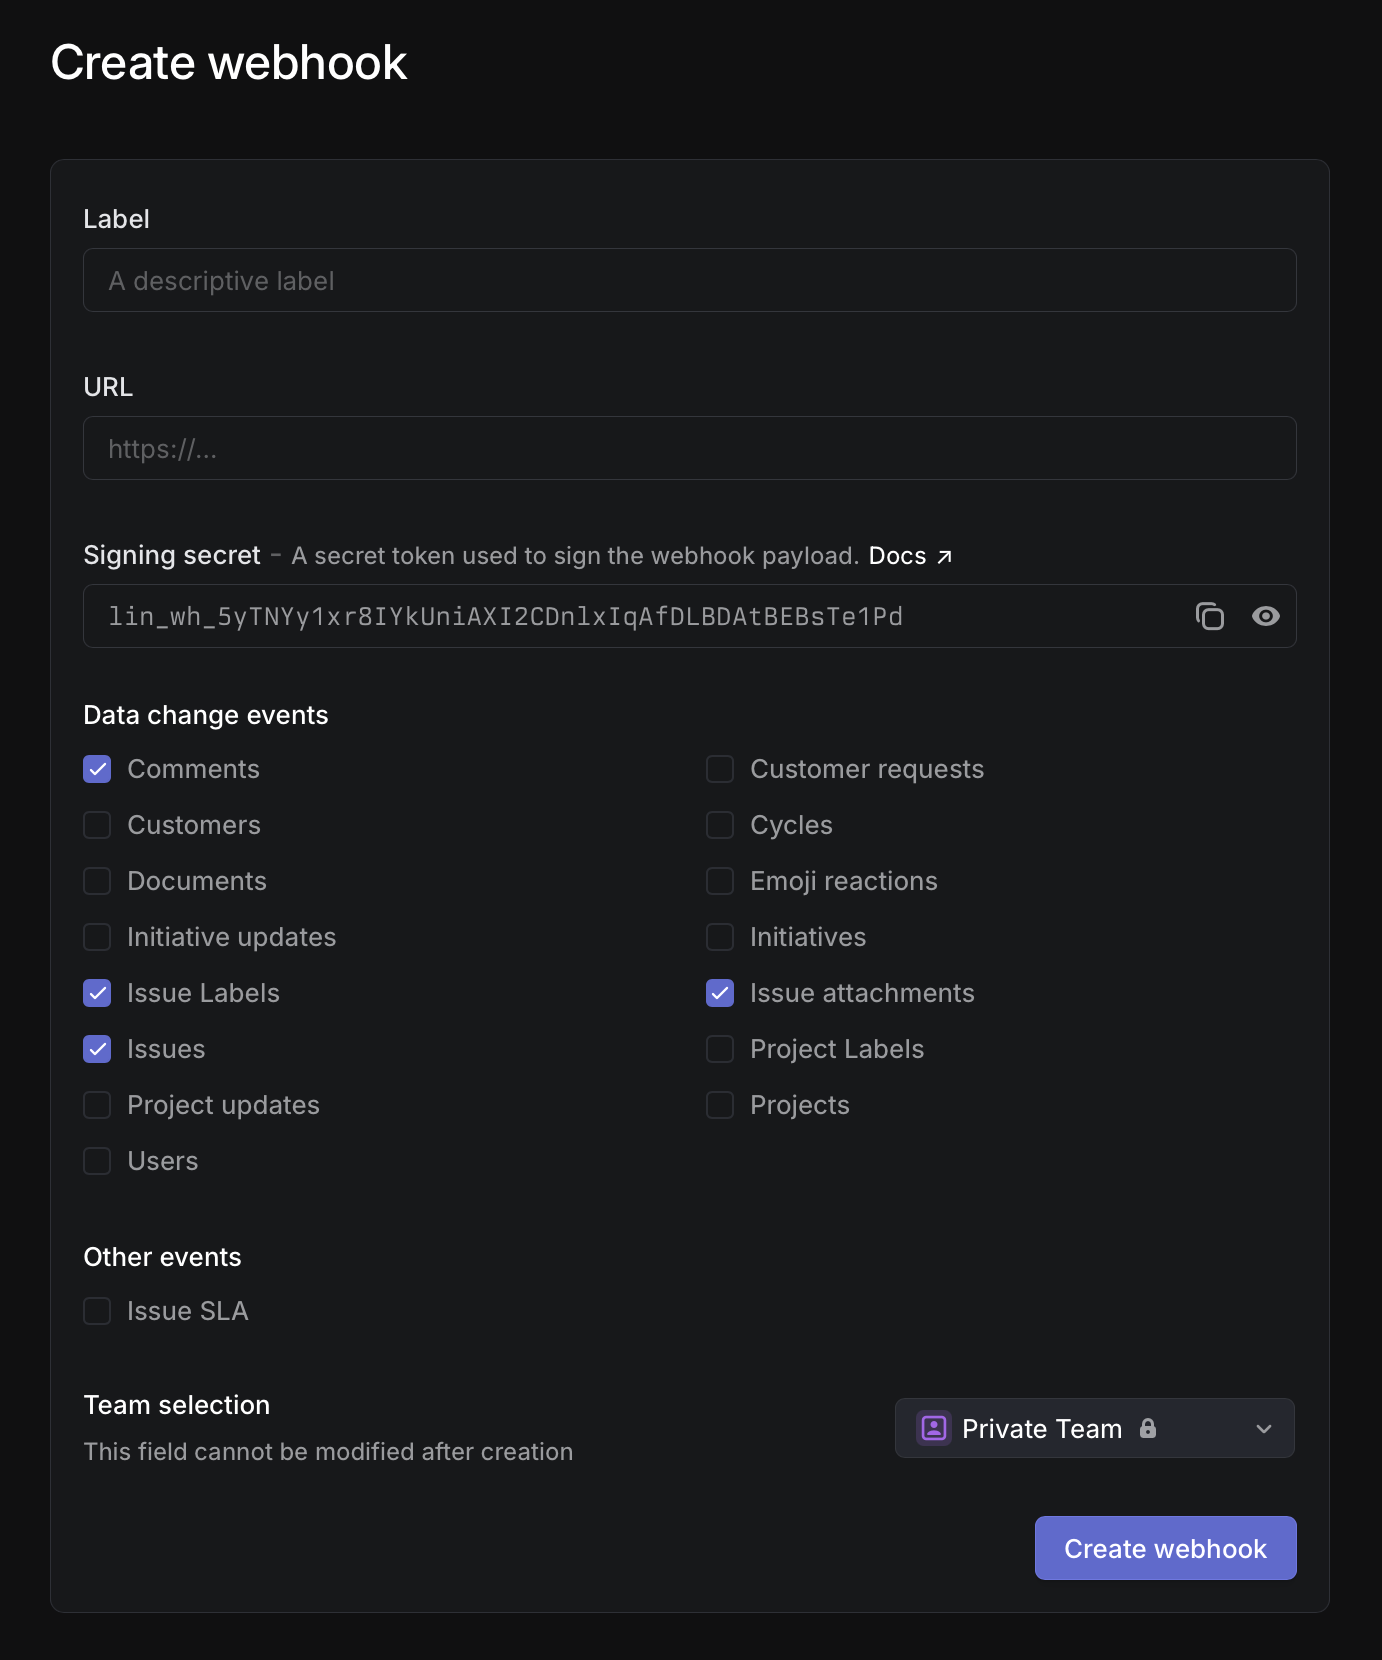
Create the Webhook in Linear
Go to your Linear workspace settings
and click "+ New webhook". Paste the webhook URL you copied. Under the "Team" dropdown, make sure to
switch from "All public teams" to your private team. Then select the following events:
CommentsIssuesIssue LabelsIssue attachments
5
Paste the Signing Secret
After creating the webhook in Linear, copy the signing secret that Linear provides.
Go back to the Ticket Manager modal and paste it into the "Signing Secret" field. Click "Save Webhook" to finish.
Webhook status indicators
After saving, your webhook will appear in the settings with a status indicator showing its health:
Active — Webhook received data within the last 2 days
Stale — Webhook hasn't received data recently
Inactive — Webhook has never received data
Good to know
You need one custom webhook per private team. Public teams
work automatically through the OAuth connection and don't require custom webhooks.